Your car’s glass is more than just a window—it’s your clear view of the road ahead. When it’s dirty or streaked, it can be frustrating and even dangerous.
But cleaning your car’s glass doesn’t have to be a hassle. Imagine driving with spotless windows that make every trip safer and more enjoyable. You’ll discover simple, effective ways to clean your car’s glass like a pro. Ready to see the road clearly again?
Let’s get started.
Credit: www.endurancewarranty.com
Choosing The Right Cleaning Tools
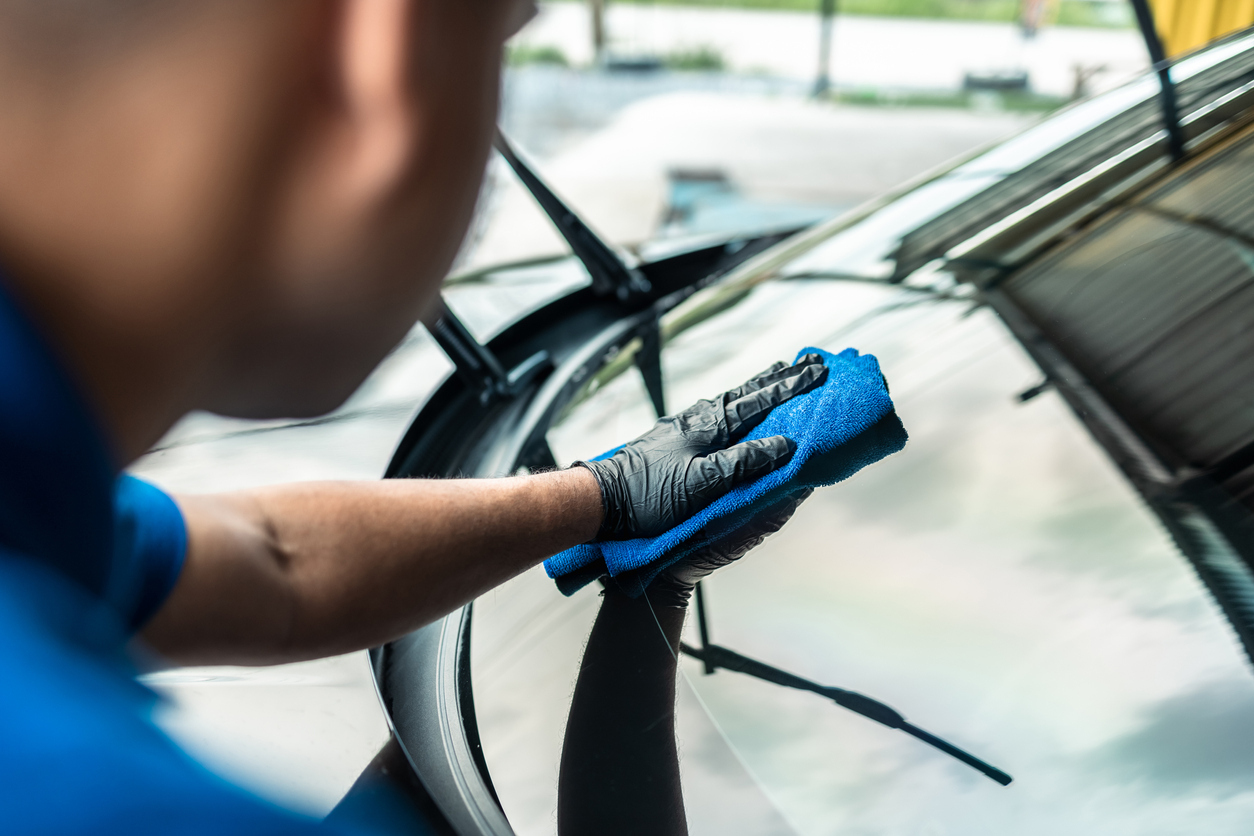
Choosing the right tools makes cleaning car glass easier and more effective. The right tools protect the glass from scratches and remove dirt well. Using proper items saves time and gives clear, streak-free results. Focus on cloths, cleaning solutions, and accessories for the best outcome.
Types Of Cloths And Towels
Microfiber cloths work best for car glass. They are soft and absorbent. These cloths do not leave lint or scratches. Avoid using paper towels or rough fabrics. Cotton towels can leave fibers behind. Choose clean, dry cloths for the best cleaning.
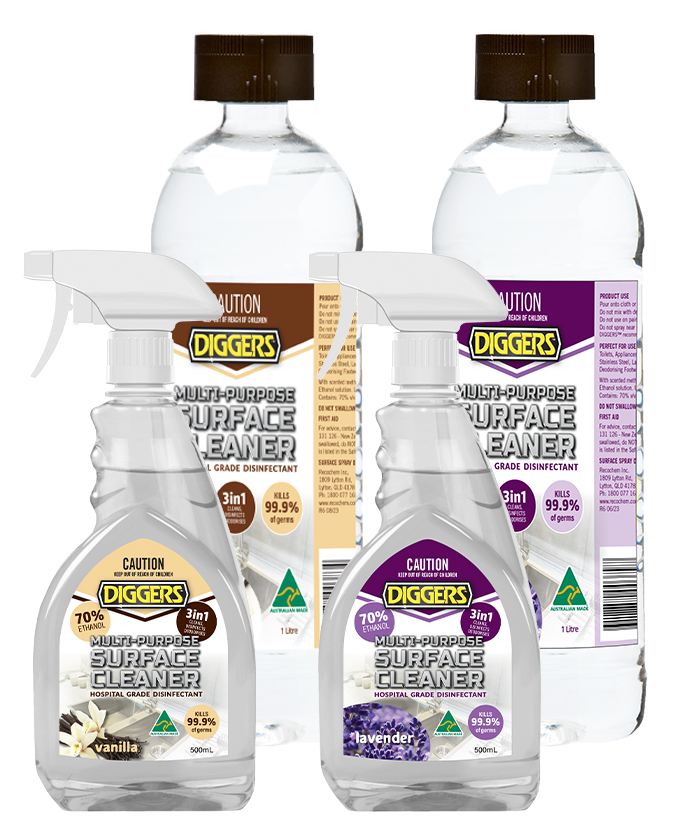
Best Cleaning Solutions
Use glass cleaner made for vehicles. These cleaners remove grime and bugs well. Avoid cleaners with ammonia or harsh chemicals. They can damage tint or rubber seals. Water mixed with vinegar is a safe, natural option. Spray the cleaner lightly to avoid drips.
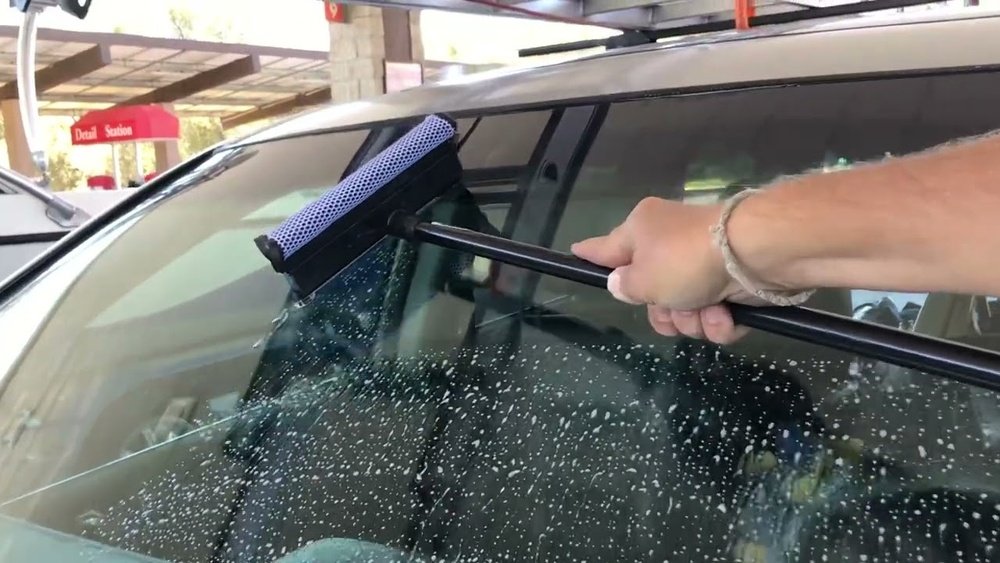
Essential Accessories
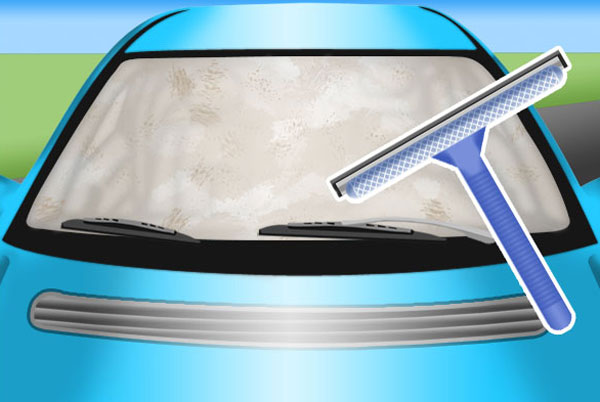
A spray bottle helps apply cleaner evenly. Use a squeegee to remove excess liquid. This prevents streaks and water spots. A soft brush can clean corners and edges. Keep all tools clean to avoid dirt transfer. Proper accessories improve the cleaning process greatly.
Preparing Your Car Glass
Preparing your car glass before cleaning is important. It helps to get a clear, streak-free finish. Taking time at this stage saves effort later. Start with the right steps to make cleaning easier and more effective.
Removing Loose Dirt And Dust
Begin by removing loose dirt and dust from the glass surface. Use a soft brush or a clean microfiber cloth. Gently wipe the glass to avoid scratching. This step clears away debris that can cause streaks or damage during cleaning.
Protecting Surrounding Areas
Protect areas around the glass before you clean. Cover car paint, trims, and seals with tape or a cloth. This prevents cleaner from damaging these parts. It also keeps the cleaning process neat and controlled.
Step-by-step Cleaning Process
Cleaning car glass is simple with the right steps. A clear window improves driving safety and car looks. Follow this easy step-by-step process for a spotless finish. The key is to clean both inside and outside surfaces well.
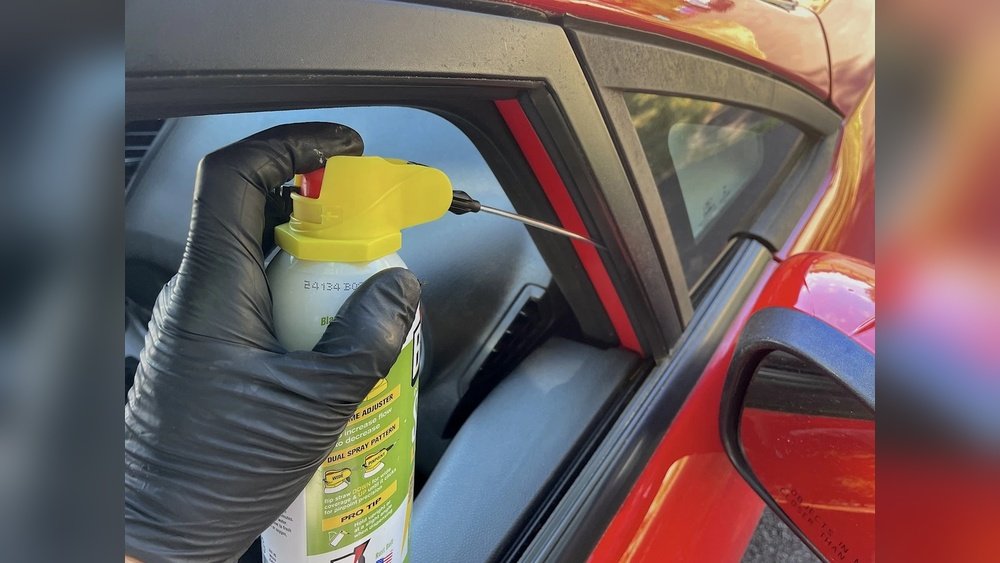
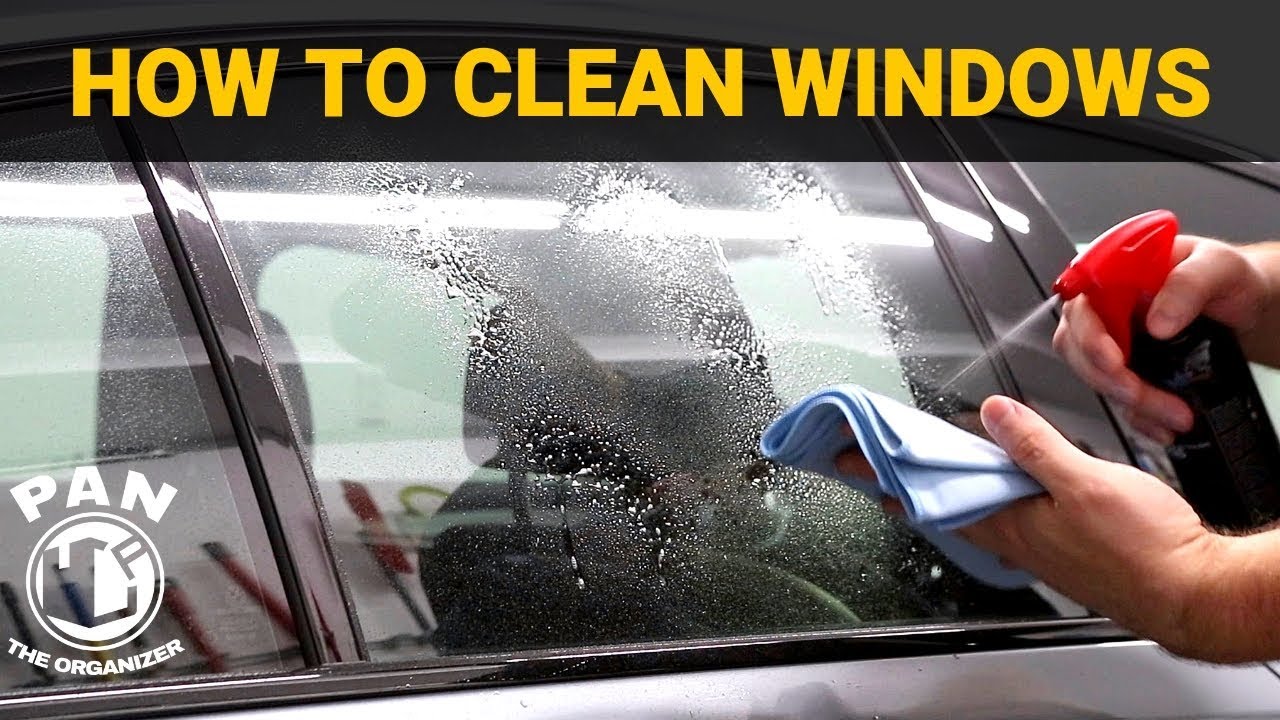
Applying Cleaner Correctly
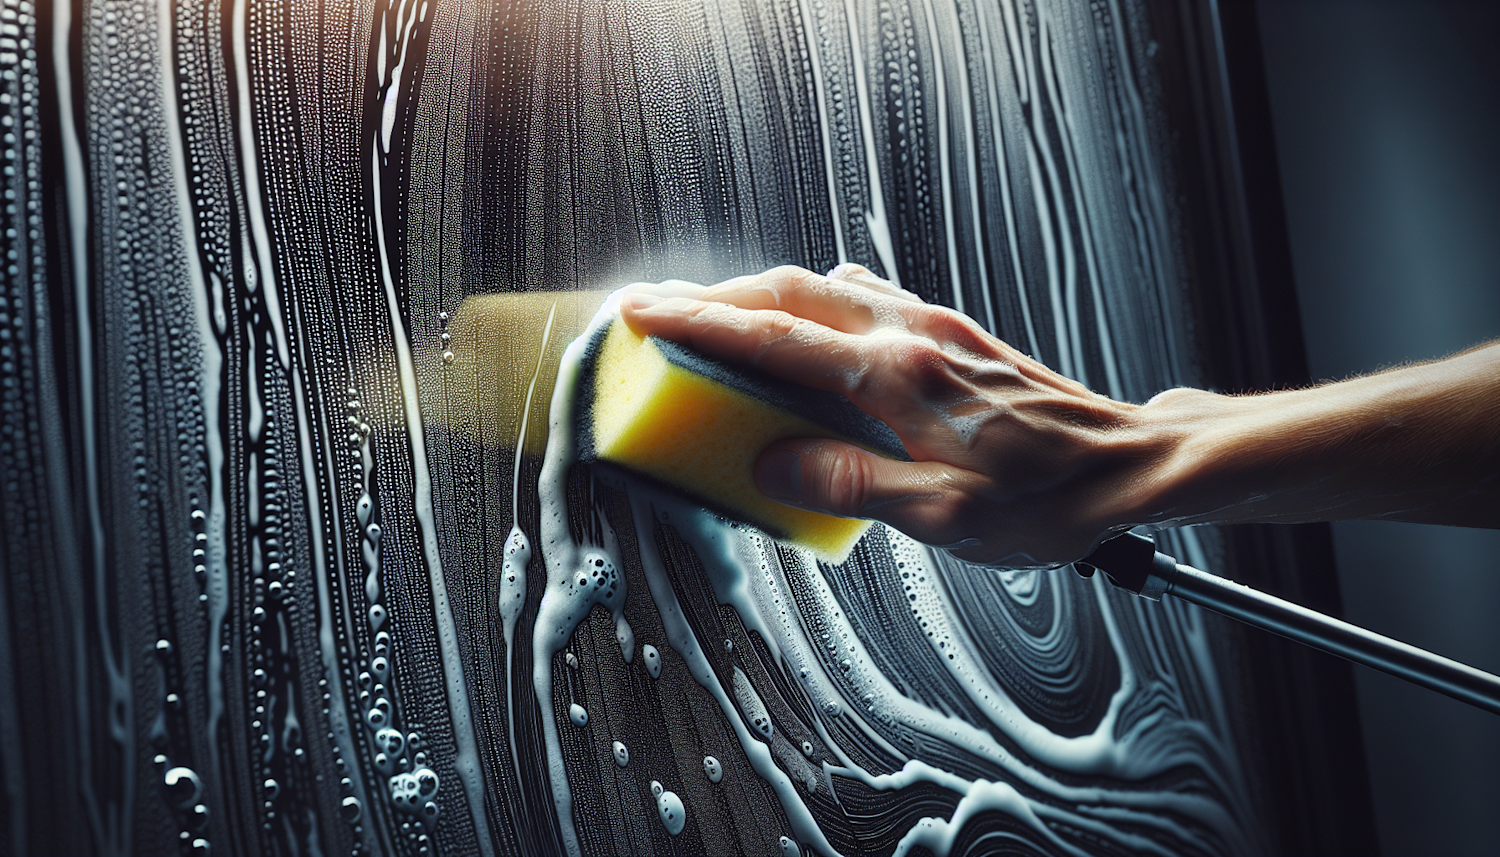
Choose a good glass cleaner made for cars. Spray the cleaner evenly across the glass surface. Avoid soaking the edges to prevent drips inside the car. Use a soft microfiber cloth to spread the cleaner gently. Do not apply too much pressure to avoid scratches. Let the cleaner sit for a few seconds to loosen dirt.
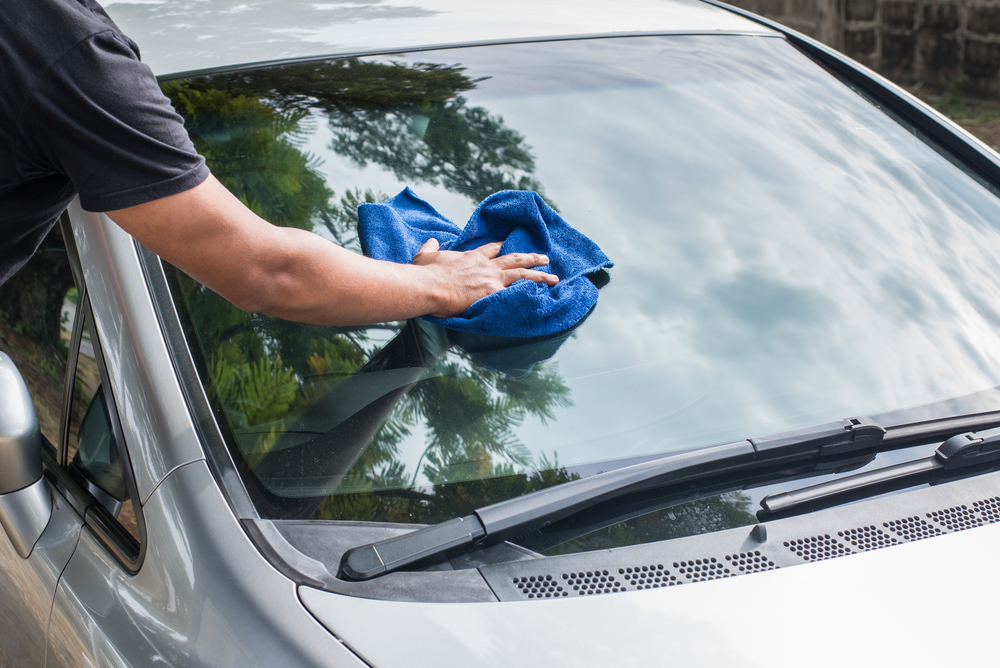
Techniques For Streak-free Finish
Use a clean, dry microfiber cloth for wiping. Wipe in a vertical direction first to remove dirt. Then wipe horizontally to catch any remaining spots. Use light, even strokes without scrubbing hard. Flip the cloth often to avoid spreading dirt. Finish by buffing with a dry section for shine and clarity.
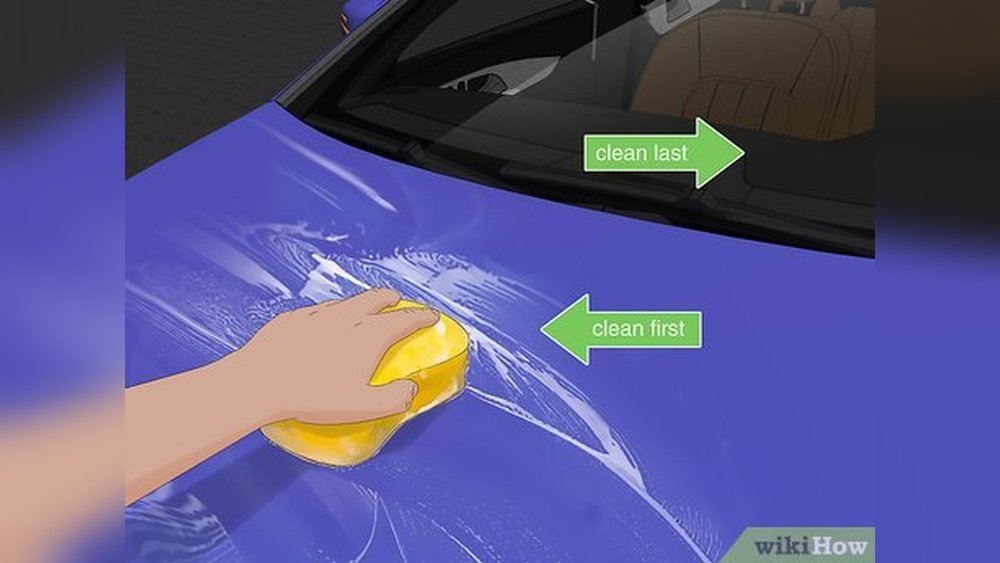
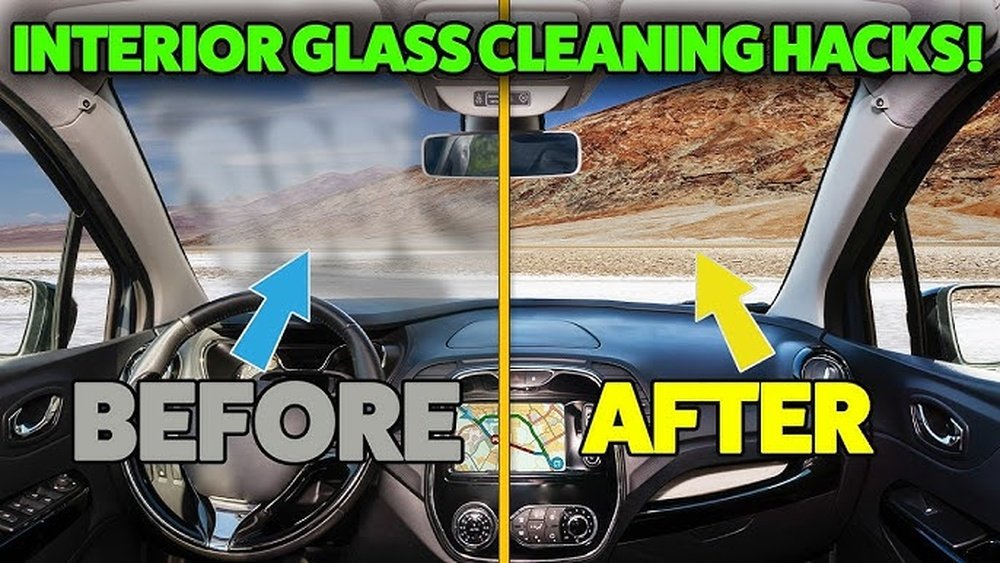
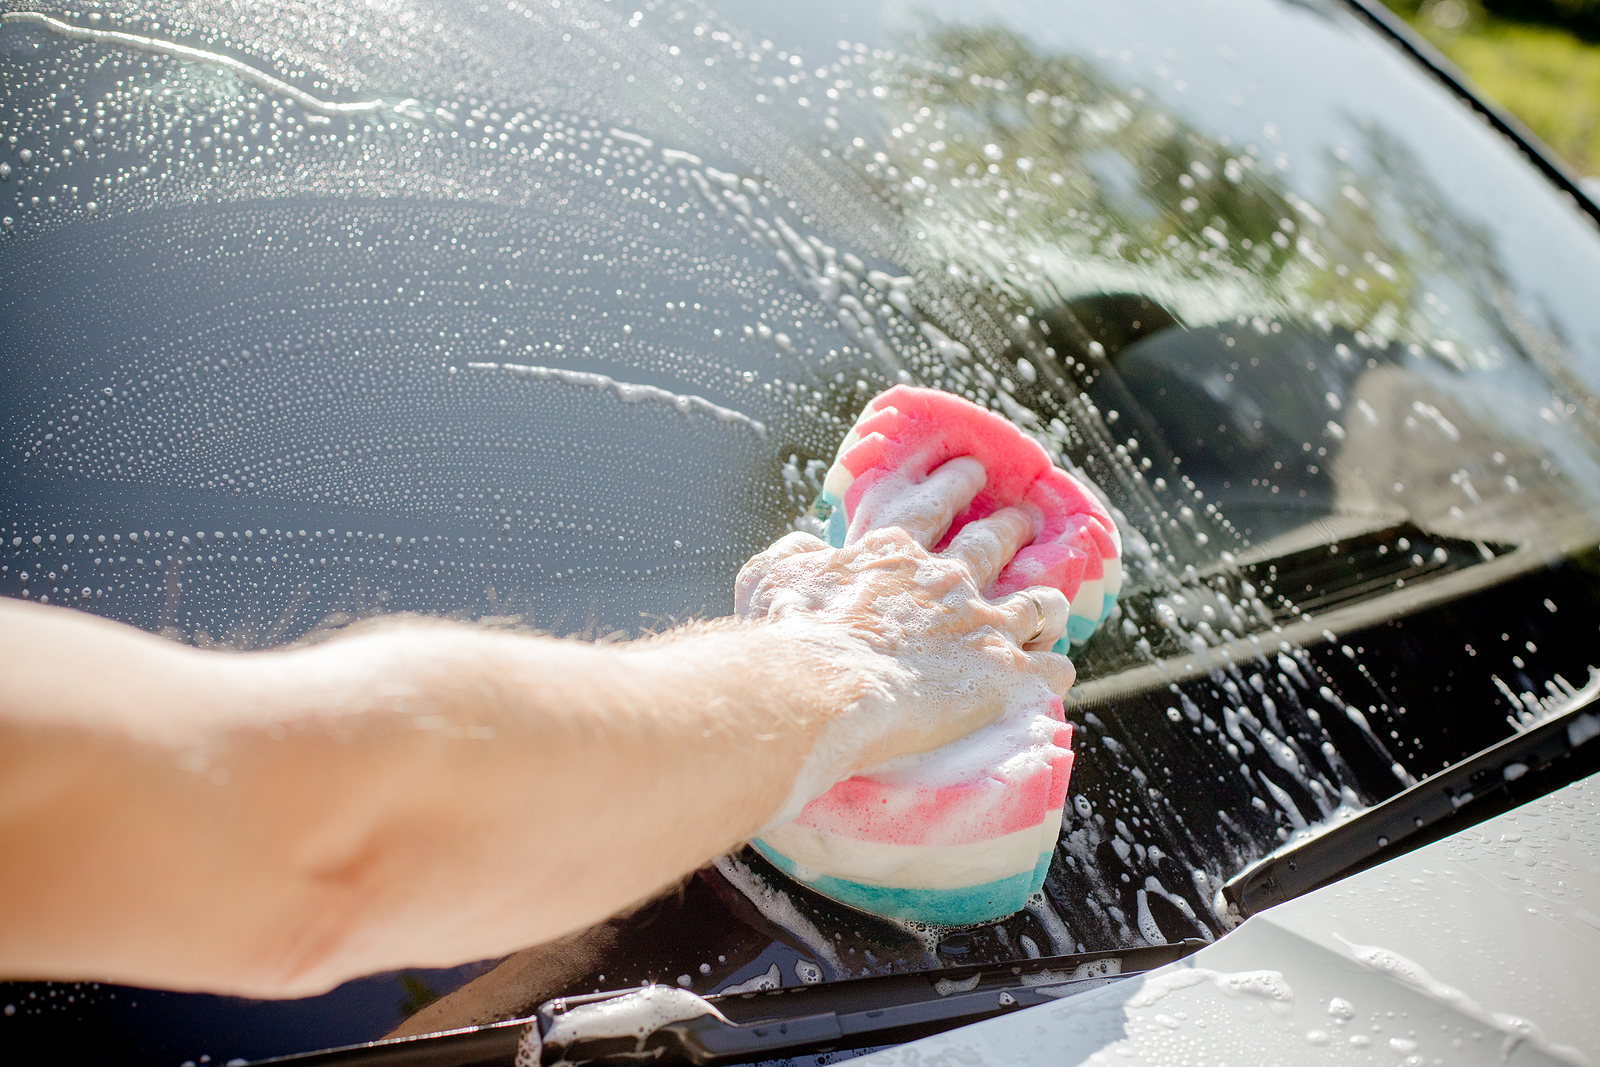
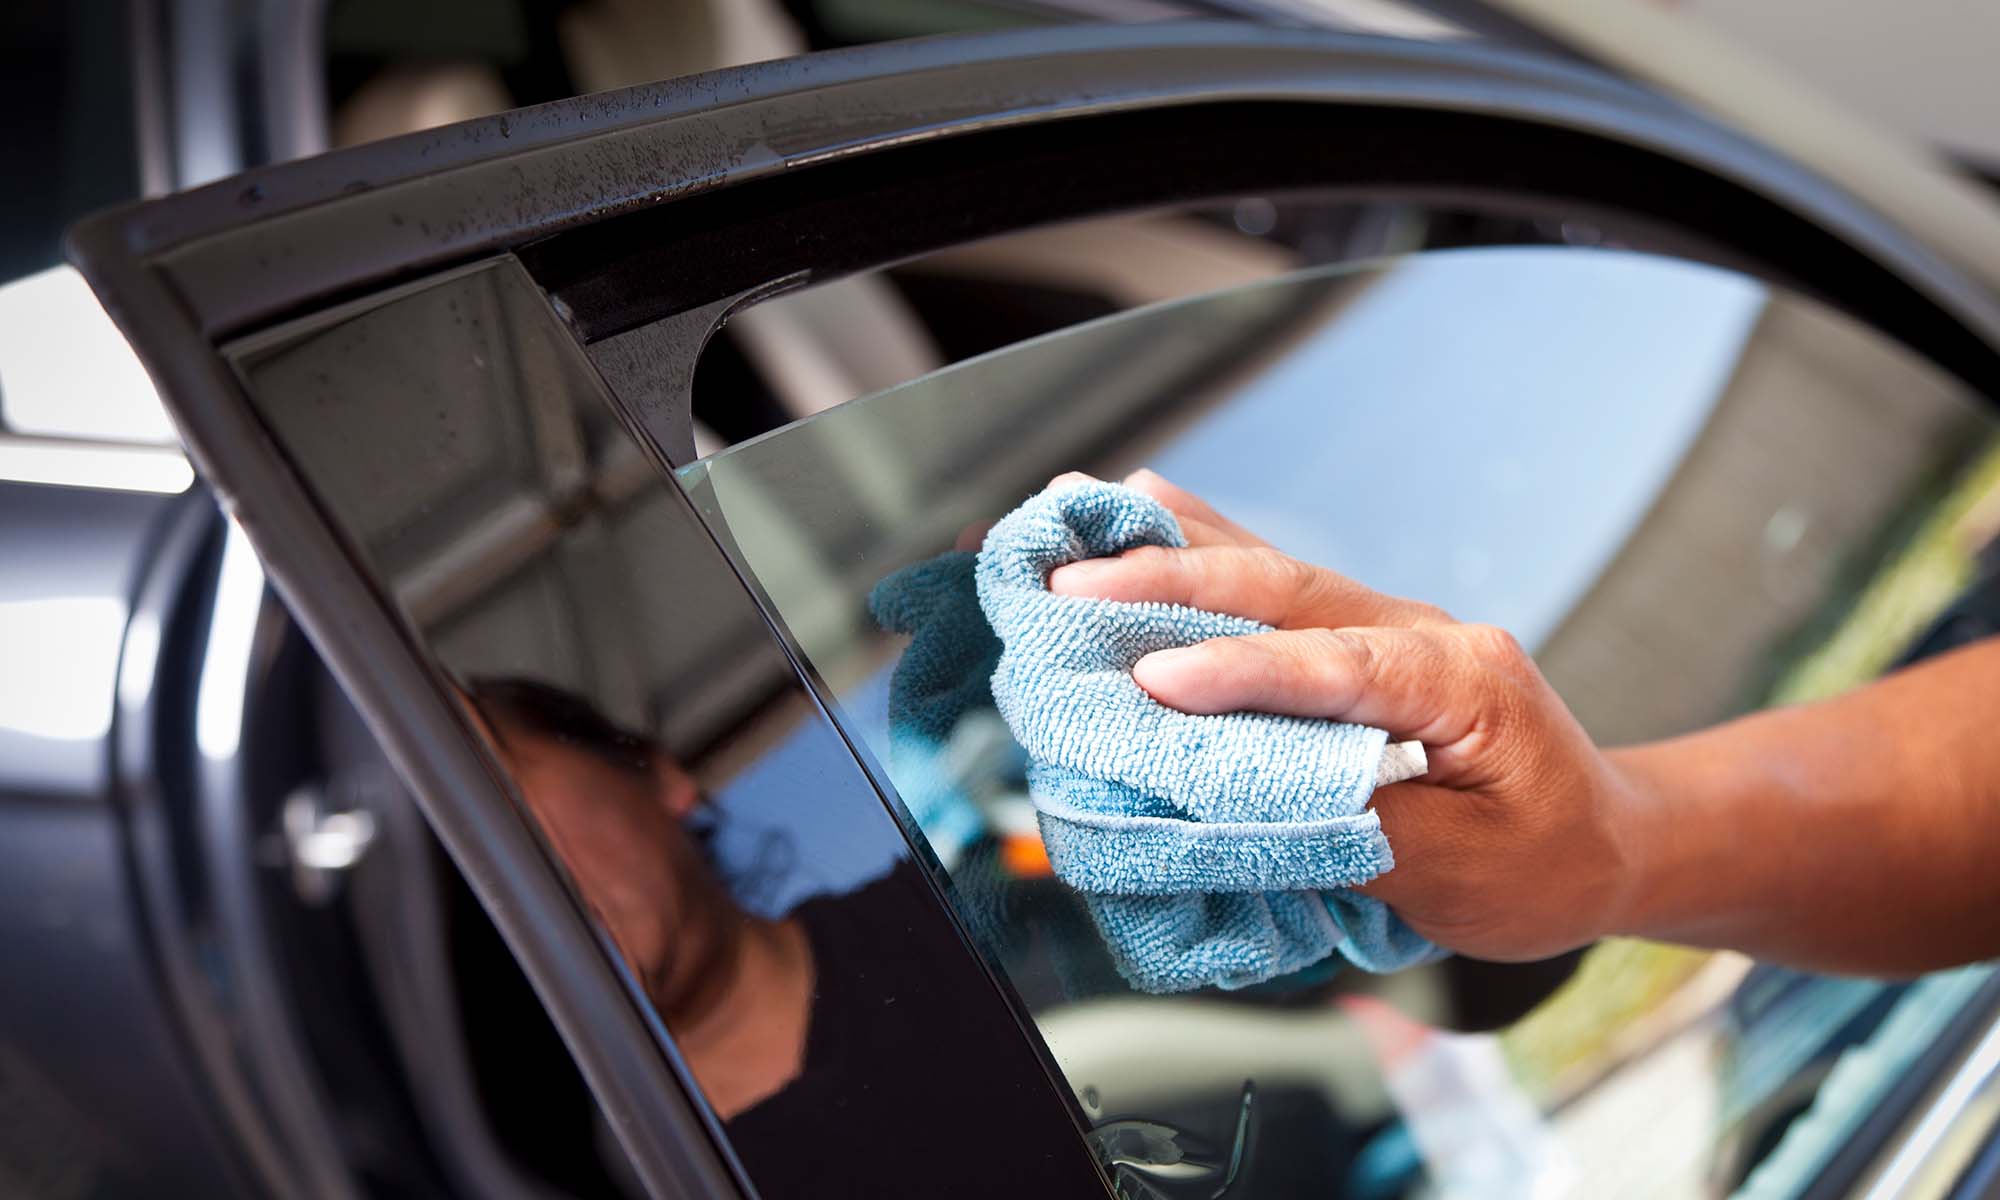
Cleaning Inside And Outside Surfaces
Start with the outside glass to remove road grime. Rinse with water if needed before applying cleaner. For the inside, open windows to allow airflow. Use less cleaner inside to avoid strong smells. Clean corners and edges carefully with a folded cloth. Dry both sides fully to prevent fogging later.
Credit: www.obrien.com.au
Dealing With Tough Stains
Car glass often faces tough stains that regular cleaning cannot remove. These stains need special care and the right products. Removing them keeps your glass clear and safe for driving. This section explains how to handle common stubborn stains on car glass.
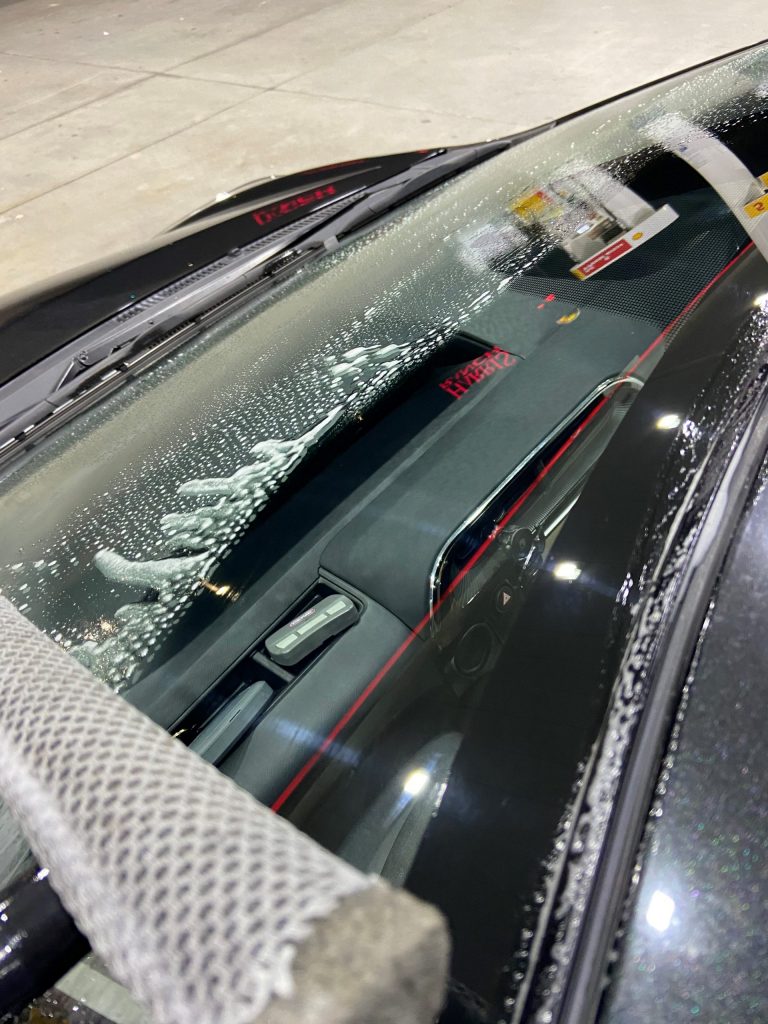
Removing Water Spots
Water spots form from minerals in rain or hard water. They leave white, chalky marks on glass. Use a mixture of equal parts white vinegar and water. Spray the solution on the spots and let it sit for a few minutes. Then, scrub gently with a soft cloth. Rinse with clean water and dry with a microfiber towel. Repeat if spots remain.
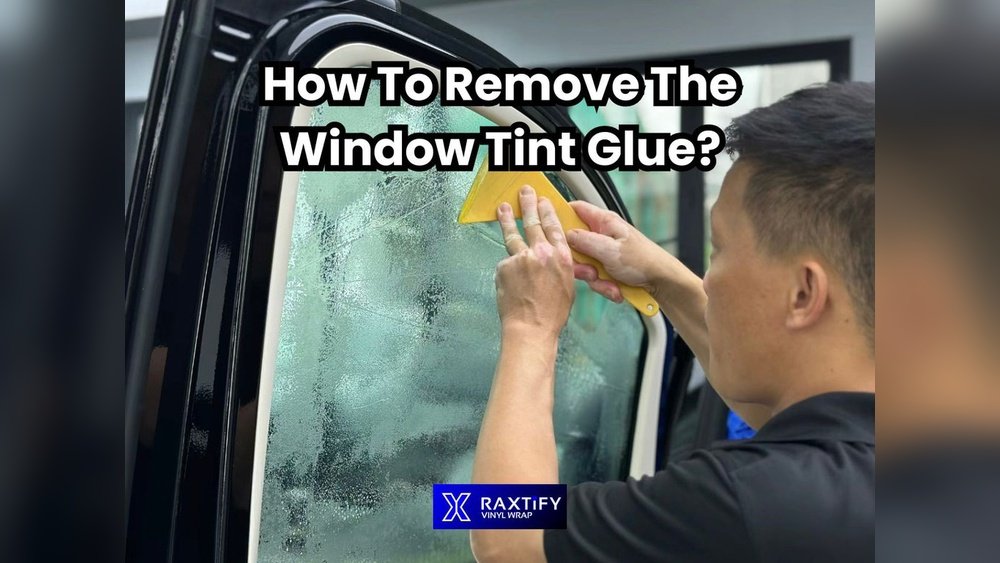
Handling Bug Residue And Sap
Bug residue and tree sap stick strongly to glass. They can damage the surface if not removed quickly. Use a bug and tar remover or rubbing alcohol. Apply it on a cloth and rub the affected area gently. Let it soak for a short time to soften the residue. Wipe off with a clean cloth. Wash the glass afterward to remove any residue.
Eliminating Smoke And Film
Smoke and oily films create a haze on car glass. This reduces visibility and looks dirty. Use a glass cleaner with ammonia or a mixture of water and dish soap. Spray the cleaner and wipe with a microfiber cloth in circular motions. For heavy film, use rubbing alcohol on a soft cloth. Clean both inside and outside glass for best results.
Maintaining Clear Glass
Clear glass is vital for safe driving. Dirt and smudges block your view. Keeping your car glass clean helps you see better. It also improves the car’s look. Follow simple steps to keep glass spotless every day.
Regular Cleaning Schedule
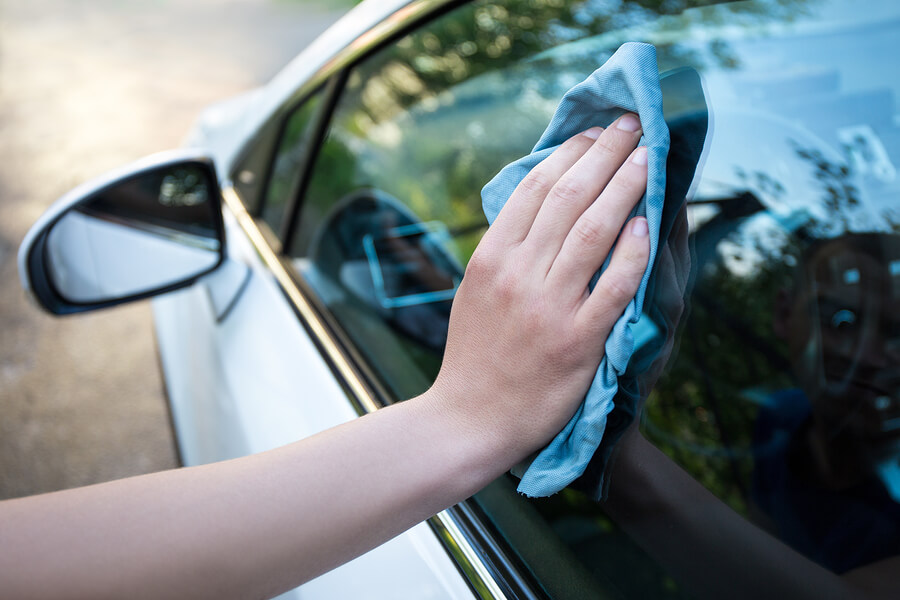
Clean your car glass often. Do it at least once a week. Use a soft cloth and glass cleaner. Avoid using rough materials that can scratch the glass. Clean both inside and outside surfaces. This stops dirt and grime from building up. Regular cleaning makes the job easier each time.
Using Protective Coatings
Apply protective coatings to your glass. These coatings repel water and dirt. They also reduce glare during rainy days. Use a product made for car glass. Follow the instructions carefully when applying. Protective coatings extend the time between cleanings. They keep your glass clearer for longer.
Tips For Preventing Fog And Frost
Fog and frost reduce visibility and can be dangerous. Use an anti-fog spray inside your car glass. It stops moisture from building up. For frost, cover your windshield at night. Use a frost guard or a simple cloth. Start your car early to warm the glass. This melts frost faster and clears your view.
Credit: www.drivebydetail.net
Safety Tips While Cleaning
Cleaning your car’s glass is necessary for clear vision. Safety must come first during this task. Follow these safety tips to protect yourself and your vehicle.
Avoiding Hazardous Chemicals
Use cleaning products that are safe for car glass. Avoid strong chemicals like ammonia or bleach. These can damage glass and harm your skin or eyes. Choose mild, non-toxic cleaners instead. Always read product labels before use.
Proper Ventilation
Clean your car glass in a well-ventilated area. Open doors or windows to let fresh air in. This reduces fumes from cleaning products. Avoid cleaning inside a closed garage. Good airflow keeps you safe from harmful vapors.
Safe Cleaning Practices
Wear gloves to protect your hands from chemicals. Use soft cloths or microfiber towels to avoid scratches. Do not spray cleaner directly on the glass; spray on the cloth first. Clean gently to prevent damage to glass or paint. Take breaks if you feel dizzy or uncomfortable.
Frequently Asked Questions
How Often Should I Clean My Car’s Glass?
Clean your car’s glass at least once a week. Frequent cleaning ensures clear visibility and removes dirt, dust, and smudges that impair driving safety.
What Is The Best Cleaner For Car Glass?
Use a dedicated automotive glass cleaner or a mixture of vinegar and water. Avoid ammonia-based cleaners as they can damage tint or rubber seals.
How Do I Remove Stubborn Stains From Car Glass?
Apply a glass cleaner and let it sit for a minute. Use a microfiber cloth and a gentle scrubbing motion to remove stains without scratching.
Can I Use Household Glass Cleaner On Car Windows?
Household cleaners may contain chemicals harmful to car tint or seals. It’s safer to use automotive glass cleaners designed for vehicle windows.
Conclusion
Cleaning your car’s glass keeps it clear and safe to drive. Use simple tools like a soft cloth and mild cleaner. Wipe gently to avoid scratches and streaks. Clean regularly to remove dirt and dust buildup. Clear glass helps you see better on the road.
A clean windshield improves your driving experience. Try these easy steps next time you wash your car. Small efforts make a big difference in visibility and safety. Keep your car glass spotless for a smoother, safer ride.