Are your car windows sticking or making strange noises when you roll them up or down? This common problem often comes from dirty or dry window tracks.
If you want your windows to move smoothly and quietly, knowing how to clean and lubricate your car window tracks is key. In this guide, you’ll discover simple steps that can save you money and keep your car feeling like new.
Ready to fix those stubborn windows yourself? Let’s get started!
Tools And Materials Needed
Before you start cleaning and lubricating your car window tracks, gather all the necessary tools and materials. This step saves time and makes the job easier. Having the right supplies ensures a smooth and effective process. Below are the main items you will need.
Cleaning Supplies
Use a soft brush to remove dirt and dust from the tracks. A small vacuum helps suck out loose debris. Clean the tracks with a microfiber cloth to avoid scratches. Mild soap mixed with water works well for cleaning grime. Avoid harsh chemicals that can damage the window seals.
Lubricants
Choose a silicone-based lubricant for smooth window movement. Spray lubricants reach tight spaces inside the tracks. Avoid grease or oil that attracts dirt and dust. A small nozzle or straw helps apply lubricant precisely. Proper lubrication prevents the window from sticking or making noise.
Safety Gear
Wear gloves to protect your hands from dirt and chemicals. Use safety glasses to shield your eyes from splashes. A mask can help if you are sensitive to sprays or dust. Dress in old clothes to avoid stains. Safety gear keeps you comfortable and safe during the task.
Preparing The Work Area
Preparing the work area is the first step to clean and lubricate car window tracks effectively. A well-prepared space helps you work safely and keeps your car clean. It also makes the process easier and faster.
Choosing A Suitable Location
Select a flat, stable surface like a driveway or garage floor. Avoid busy or uneven places to prevent accidents. Good lighting is essential to see dirt and grime inside the tracks. Pick a spot with enough space to open doors fully. Keep tools and materials close for easy access. Fresh air helps if you use sprays or lubricants.
Protecting Car Interior
Cover seats and floor mats with old cloths or plastic sheets. This protects the interior from dirt and lubricant spills. Use painter’s tape to shield door panels near window tracks. Place a small container or towel inside the door to catch falling debris. Wear gloves to keep hands clean and safe. Protecting your car saves time on cleanup later.
Removing Debris From Window Tracks
Removing debris from car window tracks is essential for smooth window operation. Dirt, dust, and small stones can get trapped inside the tracks. This buildup stops windows from moving freely and can cause damage over time.
Cleaning these tracks regularly keeps your windows working well. It also prevents noise and reduces wear. Simple tools and a little time are enough to clear out the debris effectively.
Manual Cleaning Techniques
Start by lowering the window slightly to access the tracks. Use a soft brush or an old toothbrush to loosen dirt. Wipe away loose debris with a clean cloth. For stuck particles, use a plastic or wooden pick. Avoid metal tools to prevent scratching the track. Work gently along the edges to remove all buildup.
Using Compressed Air
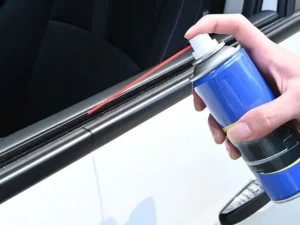
Compressed air is helpful for blowing out hard-to-reach debris. Use a can of compressed air or an air compressor. Hold the nozzle close to the track but avoid touching it. Blow air along the entire length of the track. This clears dust and small particles quickly. Repeat as needed until the tracks are clean and clear.

Credit: www.ebay.com
Deep Cleaning The Tracks
Deep cleaning the car window tracks is key to smooth window movement. Dirt, dust, and grime build up inside the tracks. This buildup can cause windows to stick or move slowly. Thorough cleaning clears away this debris. It prepares the tracks for proper lubrication. The process takes some time but improves window function greatly.
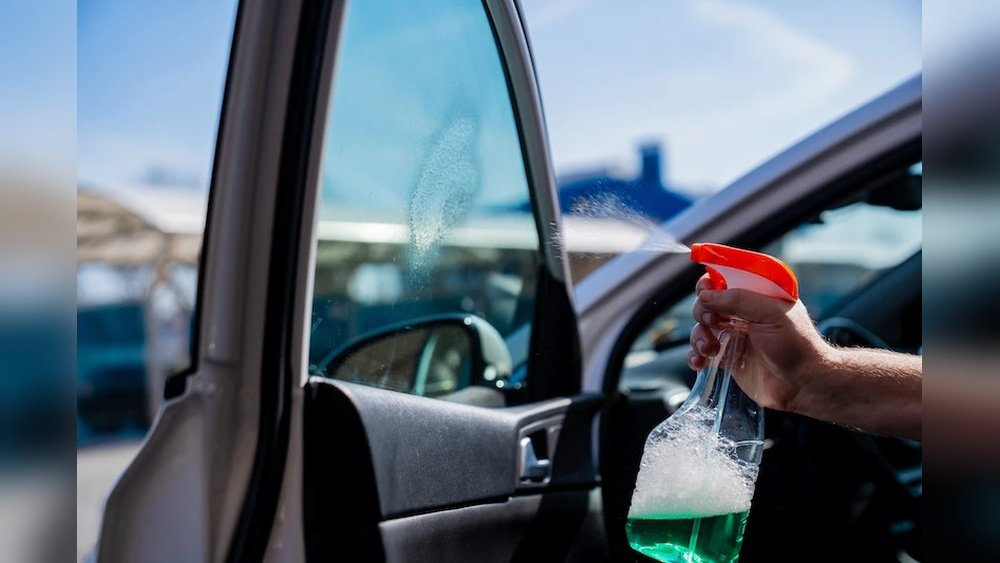
Applying Cleaning Solutions
Start by choosing a gentle cleaning solution. Mix water with a few drops of mild dish soap. Avoid harsh chemicals that can damage the tracks. Use a spray bottle to apply the solution inside the tracks. Let it sit for a few minutes. This helps to loosen stuck dirt and grease. Do not soak the area too much.
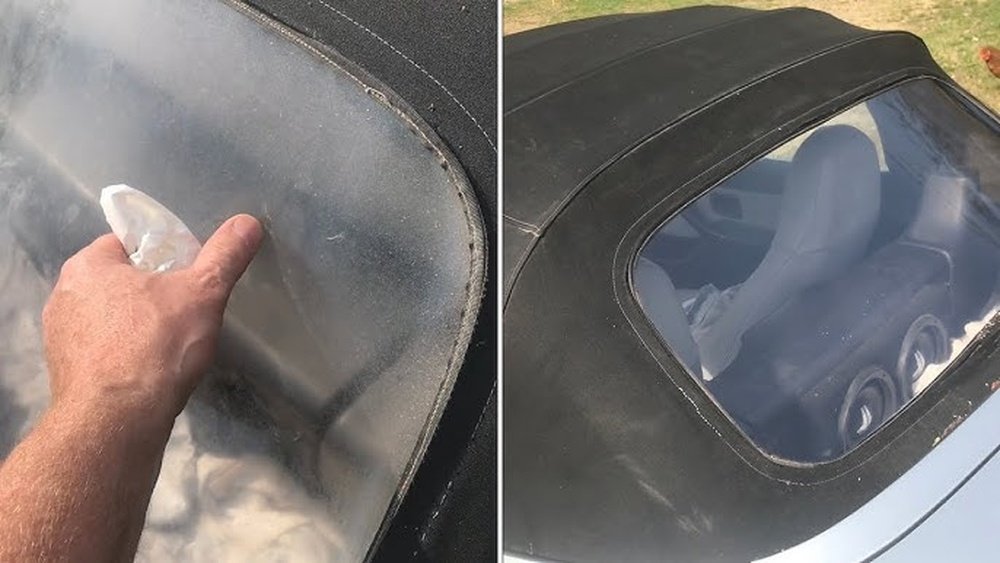
Scrubbing And Wiping
Use a soft brush or old toothbrush to scrub the tracks gently. Focus on corners and tight spaces where dirt hides. Move the brush along the entire length of the track. After scrubbing, use a clean cloth to wipe out loosened grime. Repeat scrubbing and wiping until the track looks clean. Make sure no residue remains before moving to lubrication.
Drying The Window Tracks
Drying the window tracks is an important step after cleaning. Moisture left inside the tracks can cause rust and damage. It also stops the lubricant from working well. Make sure the tracks are fully dry before applying any oil or grease. This keeps the window moving smoothly and protects the parts.
Using Cloth Or Air Drying
Use a clean, dry cloth to wipe down the window tracks. A microfiber cloth works best. It removes water from tight spaces and corners. For hard-to-reach areas, use compressed air. Blow air gently to push out moisture. Both methods help remove water quickly and safely.
Ensuring Complete Dryness
Check the tracks carefully for any wet spots. Look inside the corners and crevices. Leave the car windows open for a few minutes. This helps air flow through and dry the tracks fully. Do not rush. Any leftover moisture can cause future problems.
Choosing The Right Lubricant
Choosing the right lubricant for car window tracks is very important. The correct lubricant helps the windows move smoothly. It also stops damage and keeps the tracks clean. Using the wrong product can cause problems. It may attract dirt or even harm the window parts.
Types Of Lubricants
Silicone spray is a top choice for window tracks. It repels water and dirt well. It also won’t attract dust. White lithium grease is thicker. It works well in cold weather. This grease sticks to metal parts and lasts long. Graphite powder is dry and does not attract grime. It is good for tight spaces. Avoid using oil-based lubricants. They can drip and collect dirt.
What To Avoid
Avoid WD-40 or other penetrating oils. These are not true lubricants. They clean but dry out fast. This leaves the tracks unprotected. Avoid grease that is sticky or thick like automotive grease. It collects dust and dirt quickly. Avoid using cooking oils or household oils. These can gum up the tracks and cause damage.
Applying Lubricant Properly
Applying lubricant properly is key to keeping car window tracks working smoothly. Proper application prevents dirt build-up and reduces friction. This helps windows open and close quietly and easily. Use the right technique and amount for best results.
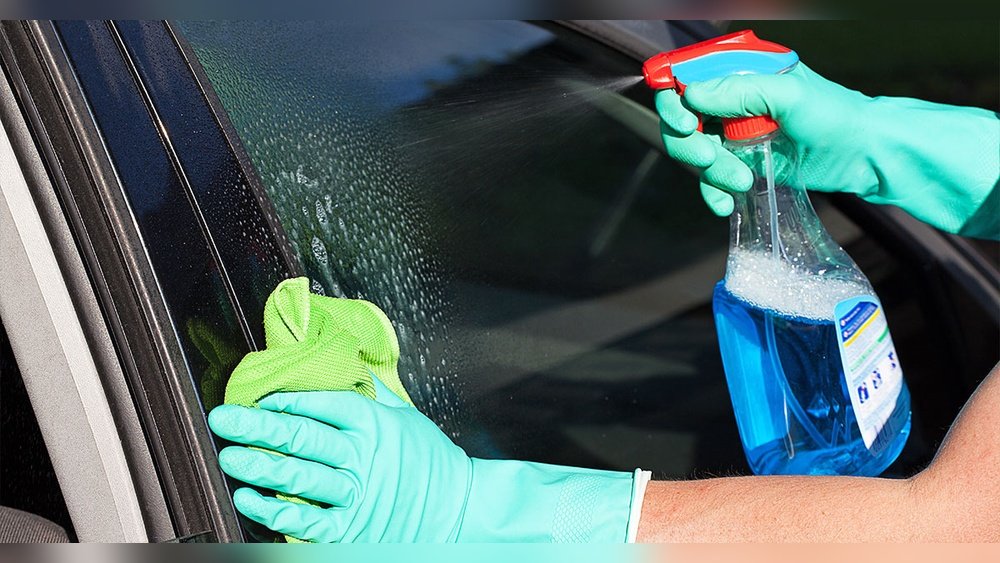
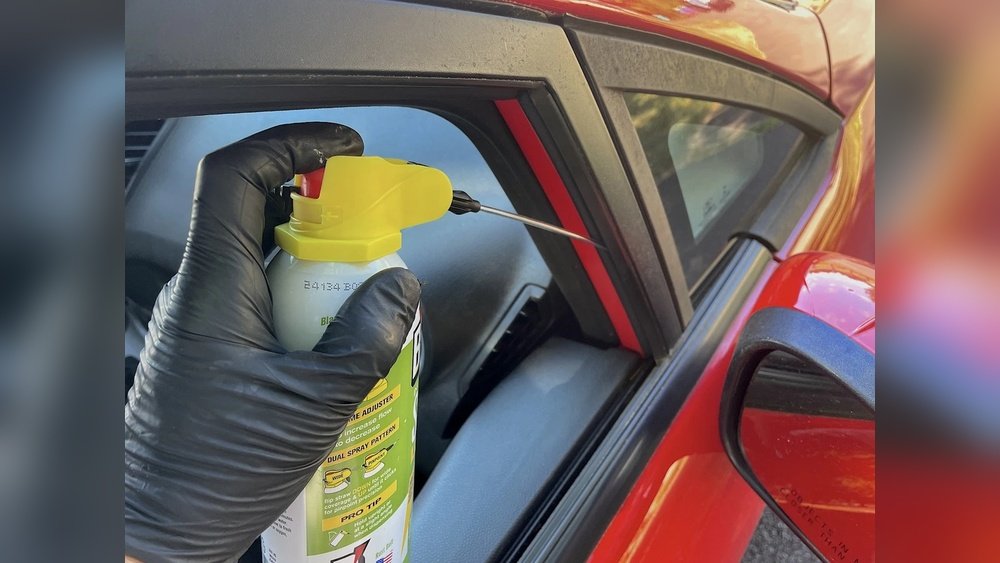
Techniques For Even Application
Start by cleaning the tracks before applying lubricant. Use a spray lubricant with a narrow nozzle. Spray along the entire length of the track. Move the window up and down to spread the lubricant evenly. Wipe off any excess with a clean cloth. Avoid over-spraying to prevent drips inside the door.
Amount To Use
Use a small amount of lubricant to avoid buildup. One or two light sprays per track is enough. Too much lubricant attracts dust and dirt. This can cause the tracks to clog over time. Check if the lubricant covers all moving parts inside the track. If not, add a little more, but keep it minimal.
Credit: seashorerubber.com
Testing Window Operation
Testing the window operation is a key step after cleaning and lubricating the tracks. It shows how well the window moves. This helps you find any problems early. Proper testing ensures your efforts pay off and the window works smoothly.
Checking Smooth Movement
Start by rolling the window up and down slowly. Watch for any jerks or stops. The window should move easily without sticking. Listen for unusual noises like grinding or squeaking. Smooth movement means the tracks are clean and well-lubricated.
Try moving the window several times. This helps spread the lubricant evenly. It also checks if the cleaning removed dirt and debris. Smooth operation feels light and quiet.
Identifying Issues
Notice any resistance or rough spots while moving the window. These signs mean dirt or damage remains in the tracks. Look for windows that move unevenly or get stuck halfway. Such problems suggest a deeper cleaning or repair is needed.
Check if the window closes fully without gaps. A window that won’t seal properly can let air and water inside. Spotting these issues early saves bigger costs later. Testing helps keep your windows working well and your car comfortable.
Maintenance Tips For Window Tracks
Maintaining your car window tracks keeps them working smoothly. Dirt and debris can block the tracks and cause the windows to jam. Regular care stops damage and saves money on repairs. Follow easy tips to keep window tracks clean and lubricated.
Regular Cleaning Schedule
Clean window tracks every month to remove dust and dirt. Use a soft brush or cloth to clear loose debris. A vacuum with a narrow nozzle works well for tight spots. Avoid water inside the door panel to prevent rust. Regular cleaning stops buildup that makes windows stick.
Preventing Future Problems
Apply a silicone-based lubricant after cleaning. It helps parts move smoothly and protects against rust. Avoid oil sprays that attract dirt and gum up tracks. Check window operation often to catch issues early. Keep seals and weatherstripping in good shape to reduce dirt entry.
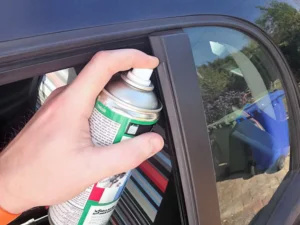
Credit: seashorerubber.com
Frequently Asked Questions
How Often Should I Clean Car Window Tracks?
Clean car window tracks every 3 to 6 months. Regular cleaning prevents debris buildup and ensures smooth window operation. Frequent maintenance extends the lifespan of window components and reduces repair costs.
What Is The Best Lubricant For Window Tracks?
Use a silicone-based lubricant for window tracks. It prevents sticking, repels dust, and won’t attract dirt. Avoid oil-based lubricants as they can cause grime buildup and damage the tracks over time.
Can I Use Household Cleaners On Window Tracks?
Avoid harsh household cleaners on window tracks. Use mild soap and water or specialized automotive cleaners. Harsh chemicals may corrode metal parts or damage rubber seals, leading to costly repairs.
How Do I Remove Debris From Car Window Tracks?
Use a soft brush or compressed air to remove debris. Gently clear dirt and dust without damaging the track. Avoid sharp tools that can scratch or damage the window mechanism.
Conclusion
Cleaning and lubricating car window tracks keeps windows moving smoothly. Dirt and grime can cause windows to stick or make noise. Regular care helps avoid costly repairs. Use gentle cleaners and proper lubricants for best results. Check the tracks often to spot problems early.
Taking a few minutes to maintain tracks improves your car’s comfort. Keep your windows working well all year round. Simple steps make a big difference in window performance. Give your car the care it needs today.