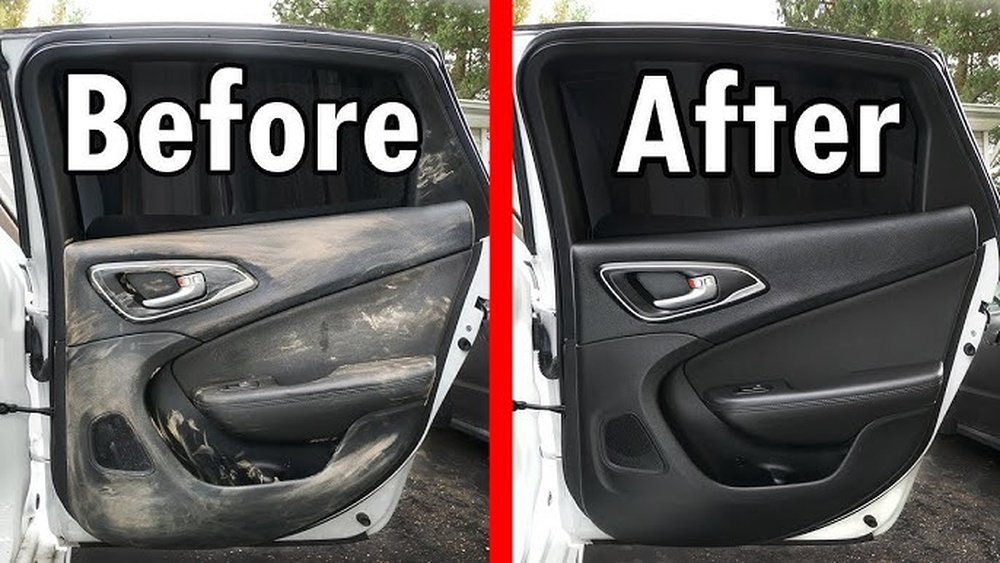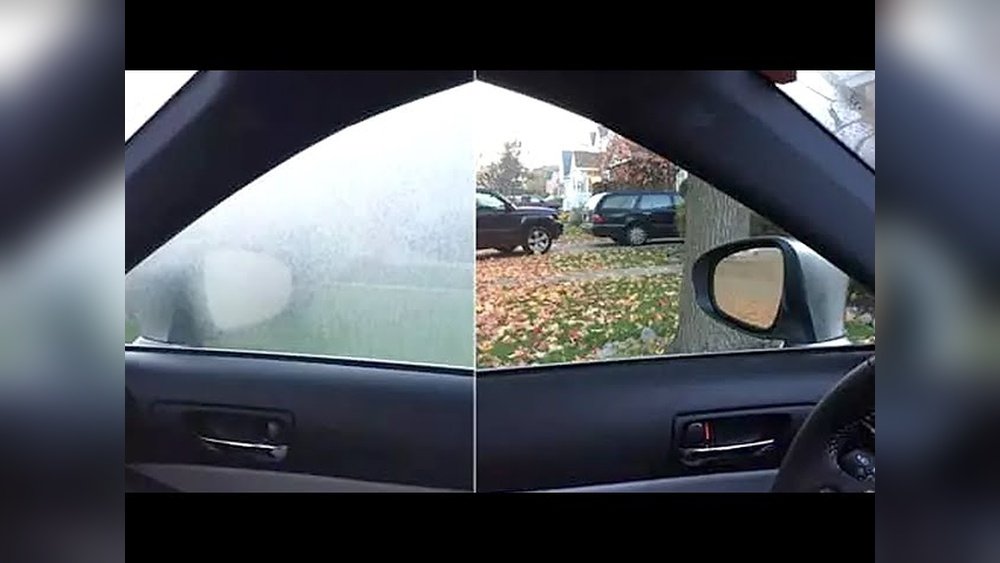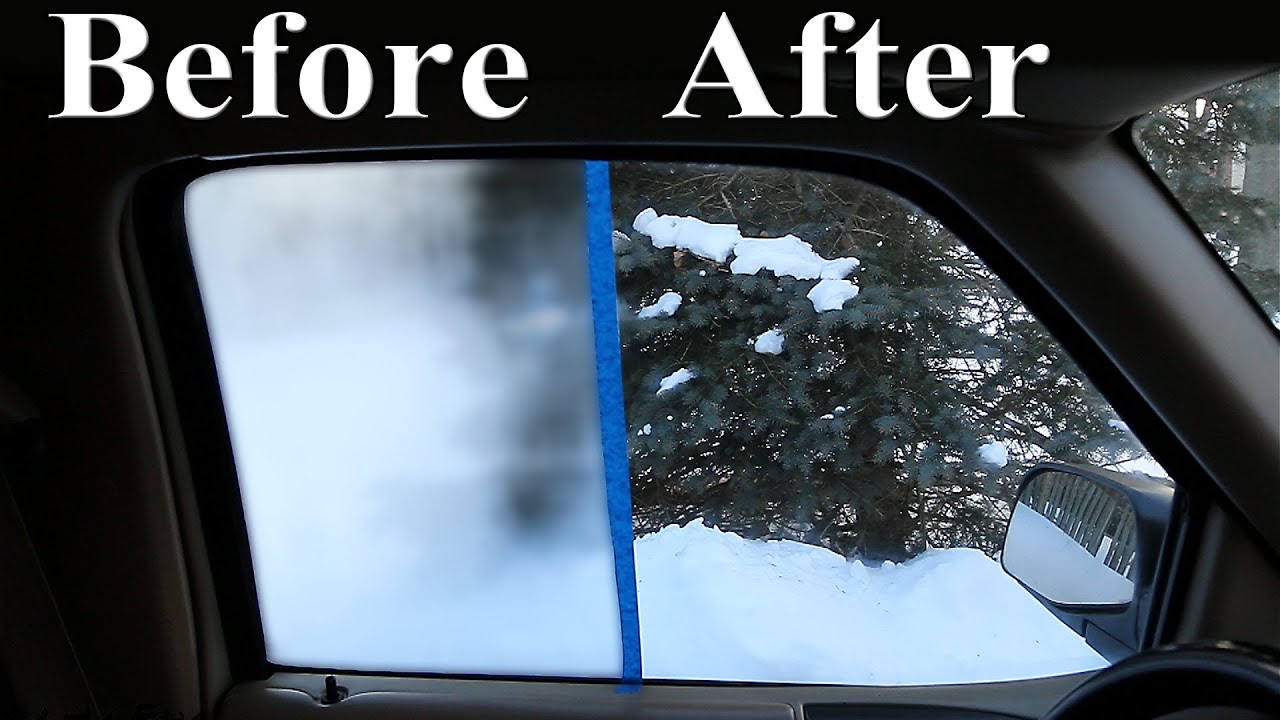
Are your car windows looking foggy, streaky, or just plain dirty? You might not realize how much grime builds up until it starts blocking your view or ruining your car’s shine.
Cleaning grimy car windows doesn’t have to be a frustrating chore. In fact, with the right tips and tricks, you can have crystal-clear windows that make driving safer and your car look great. Keep reading, and you’ll discover simple, effective ways to get your windows spotless—fast.
Your car deserves it, and so do you.

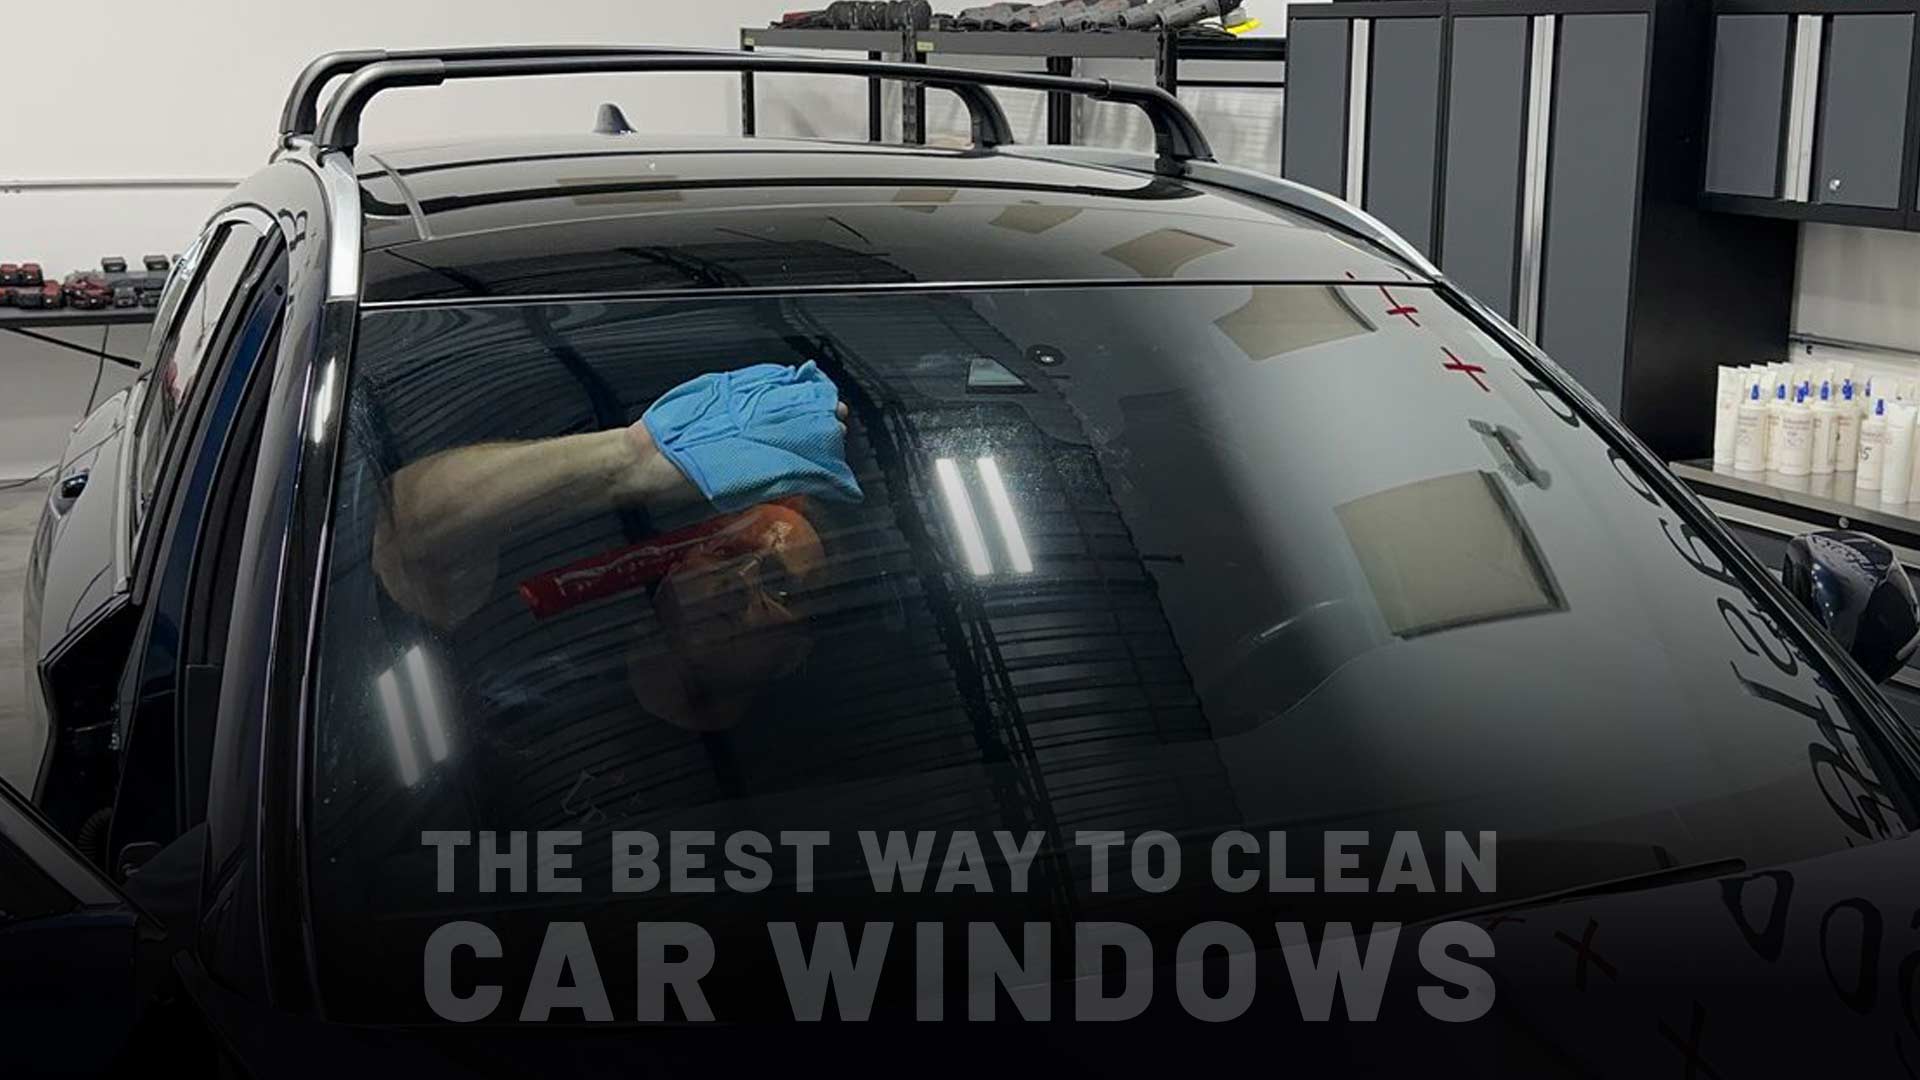
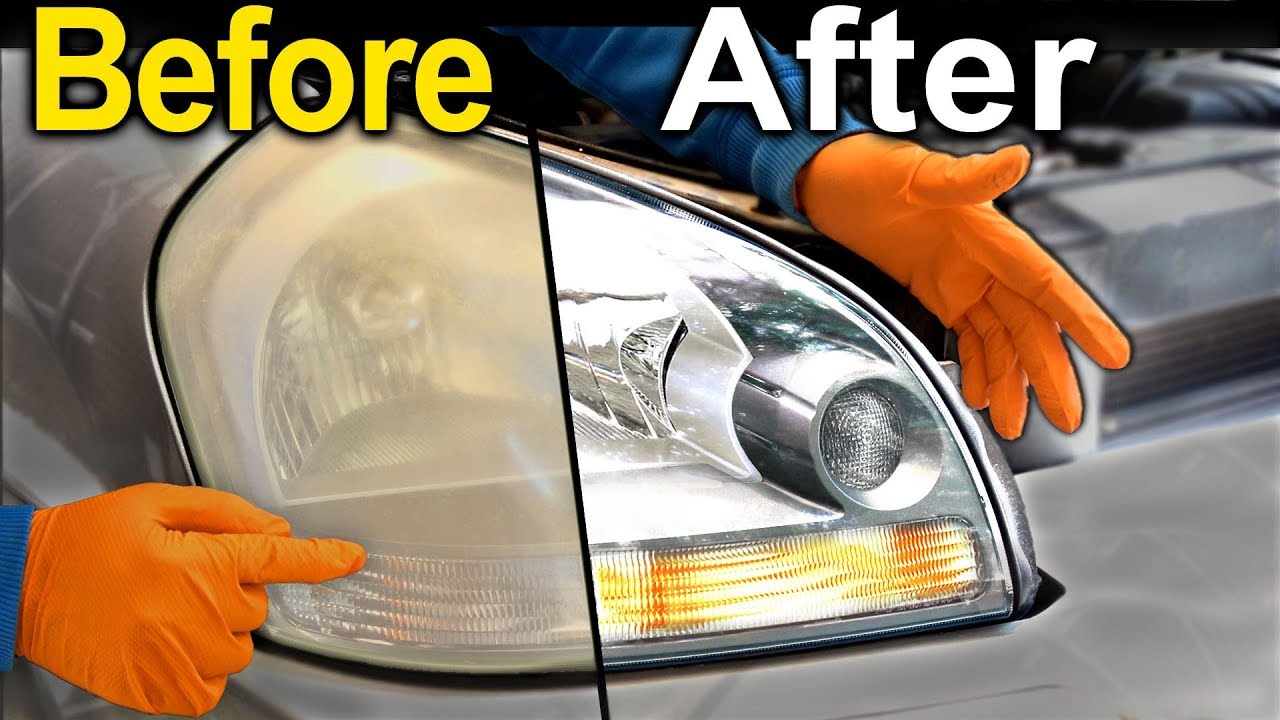
Credit: www.youtube.com
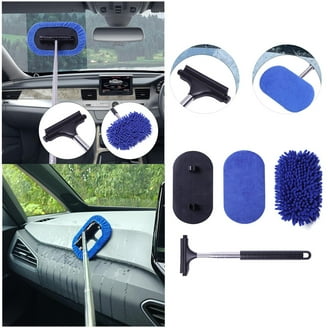
Tools You Need
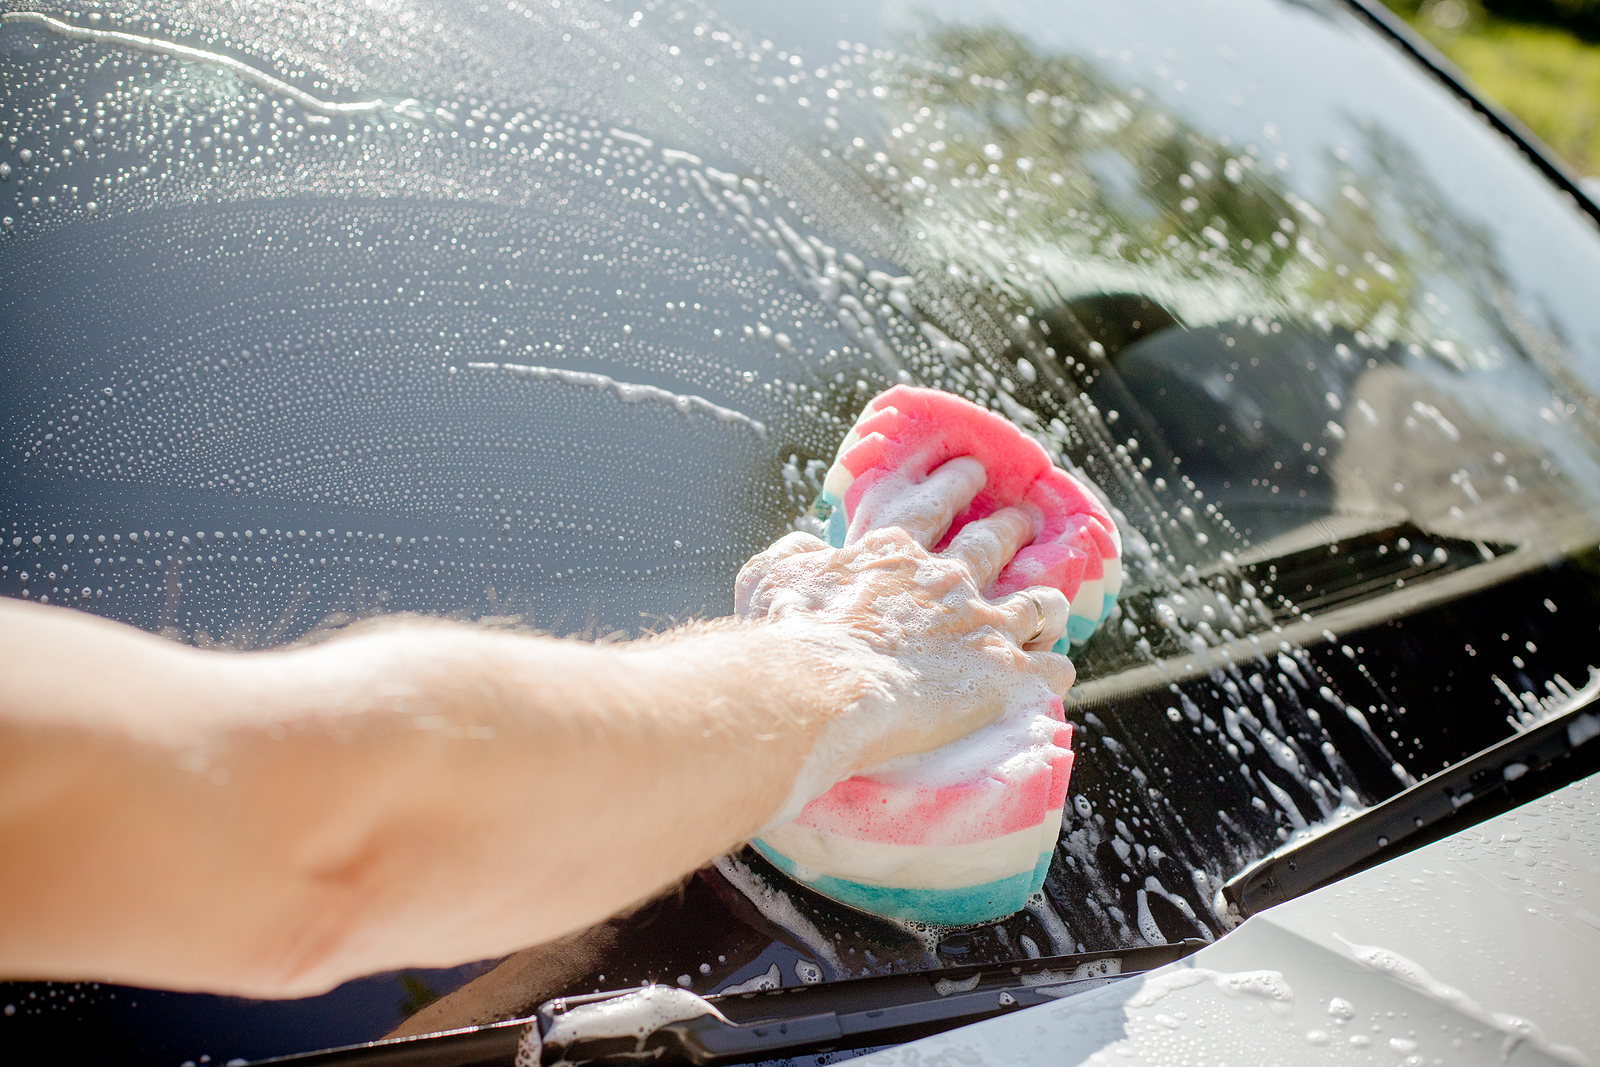
Cleaning grimy car windows requires the right tools for best results. Using proper supplies makes the job easier and faster. It also helps protect your car’s glass from scratches or streaks. This section covers the essential items to prepare before you start cleaning.
Essential Cleaning Supplies
Start with a good glass cleaner made for cars. Avoid household glass cleaners with ammonia; they can damage window tint. Choose a cleaner that removes dirt, grease, and water spots well.
Next, have a spray bottle filled with plain water or a mix of water and vinegar. This helps rinse the windows after cleaning. Use a bucket to hold clean water for rinsing cloths.
Also, keep paper towels or lint-free wipes handy for drying windows without leaving fibers behind.
Choosing The Right Cloths
Microfiber cloths are the best for cleaning car windows. They absorb dirt and moisture without scratching glass. Use different cloths for washing and drying to avoid smearing.
Choose soft and clean cloths only. Dirty or rough fabrics can cause streaks or damage the surface. Keep extra cloths ready for stubborn spots or multiple passes.
Optional Accessories
A squeegee can help remove water quickly and leave windows streak-free. Use one with a soft rubber blade to protect the glass.
For hard-to-reach spots, a small detailing brush works well. It cleans corners and edges where dirt builds up.
Gloves protect your hands from chemicals and keep them clean. They are useful if you clean windows often or use strong cleaners.
Preparing Your Car Windows
Preparing your car windows is the first step to a clear and shiny finish. Cleaning windows without prep may spread dirt and cause streaks. Taking time to prepare helps you clean better and faster.
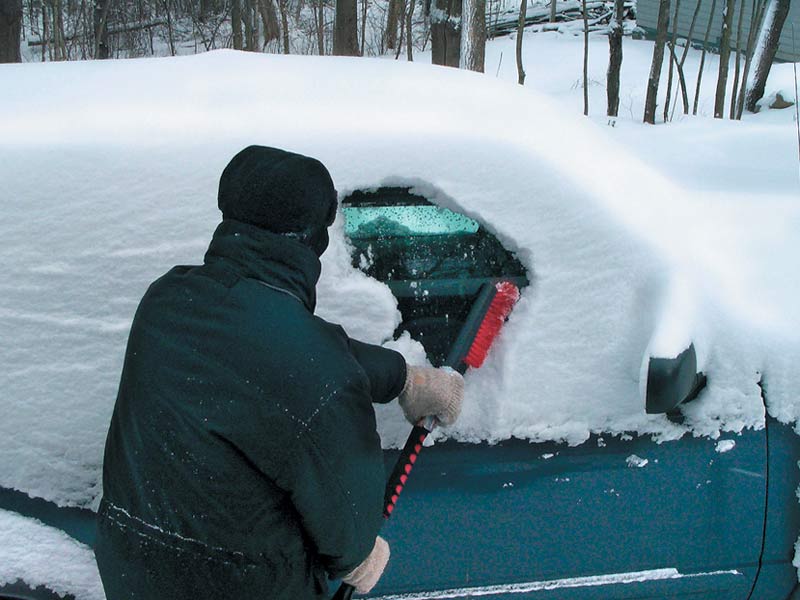
Removing Loose Dirt
Start by removing loose dirt and dust from the windows. Use a soft brush or a dry microfiber cloth. Gently wipe the surface to avoid scratches. This step prevents dirt from turning into mud during cleaning.
Protecting Surrounding Areas
Cover parts near the windows to avoid damage. Use painter’s tape on rubber seals and trims. Place towels on the car doors to catch drips. Protecting these areas saves time and keeps your car safe.
Effective Cleaning Solutions
Cleaning grimy car windows needs the right solutions. The right cleaner removes dirt, grease, and smudges fast. It also leaves your glass clear and streak-free. You can choose between simple DIY mixtures or store-bought commercial cleaners. Both types work well but in different ways. Knowing each option helps you pick the best fit for your car.
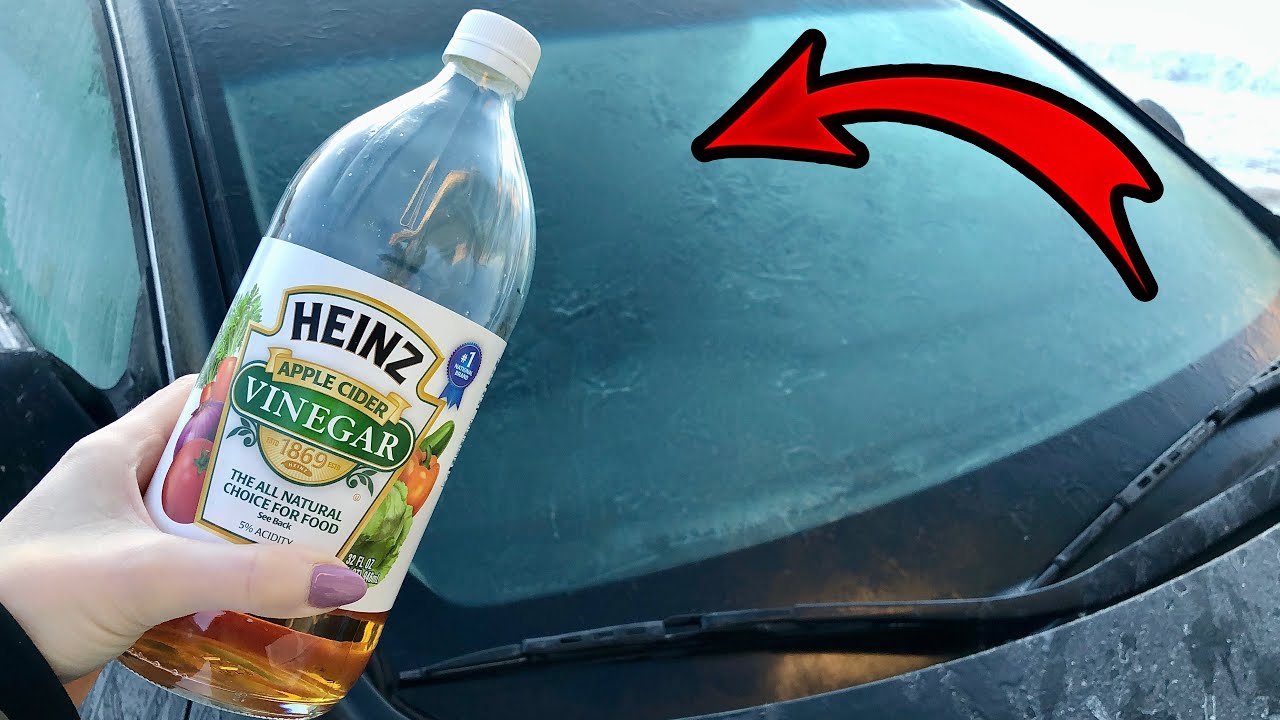
Diy Mixtures
DIY mixtures use common household items. They are easy to make and cost less. A popular mix is equal parts water and white vinegar. This solution breaks down grime and removes spots. Add a few drops of dish soap for extra power. Use a spray bottle for easy application. Wipe the windows with a clean microfiber cloth. Rinse with water if needed. These mixtures are safe and eco-friendly. Perfect for quick cleaning and regular care.
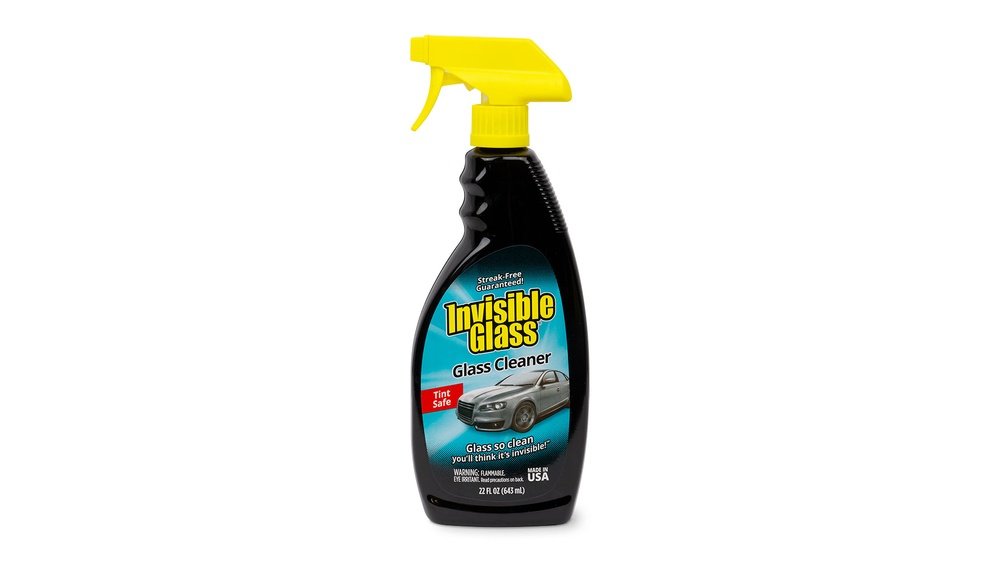
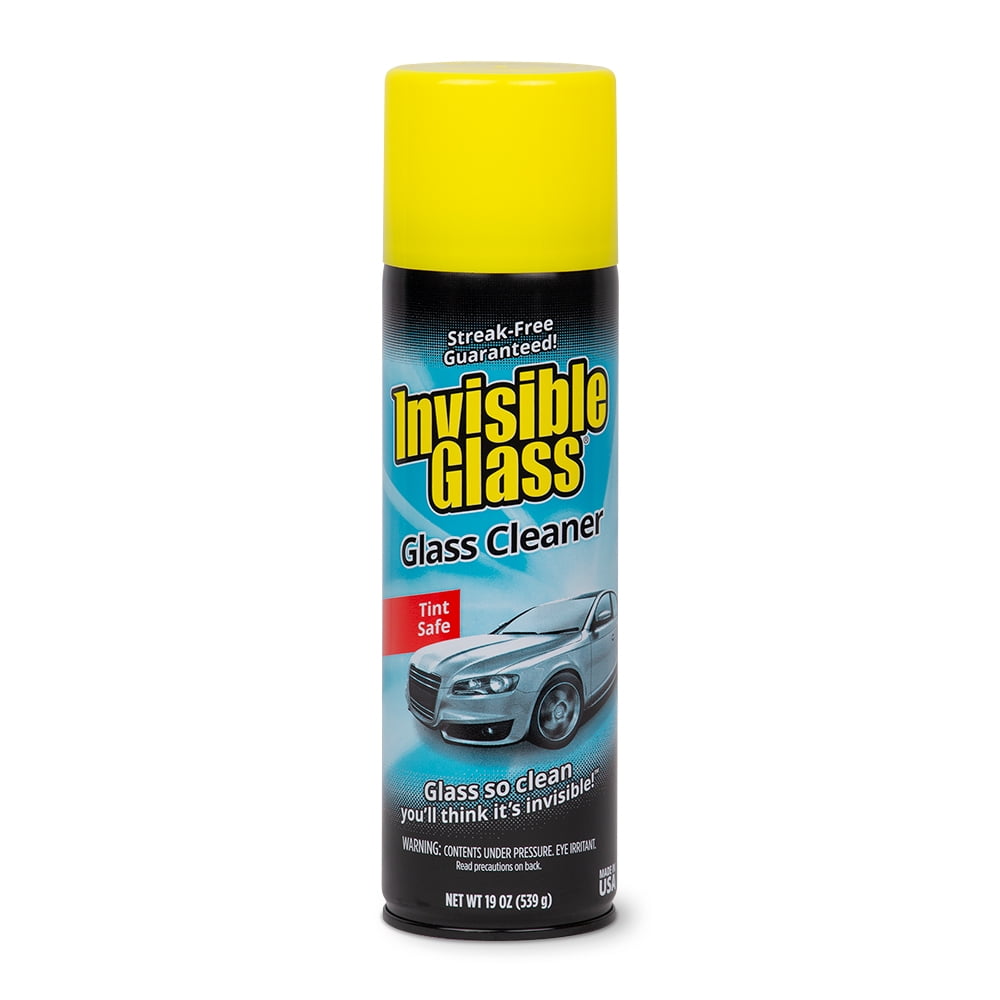
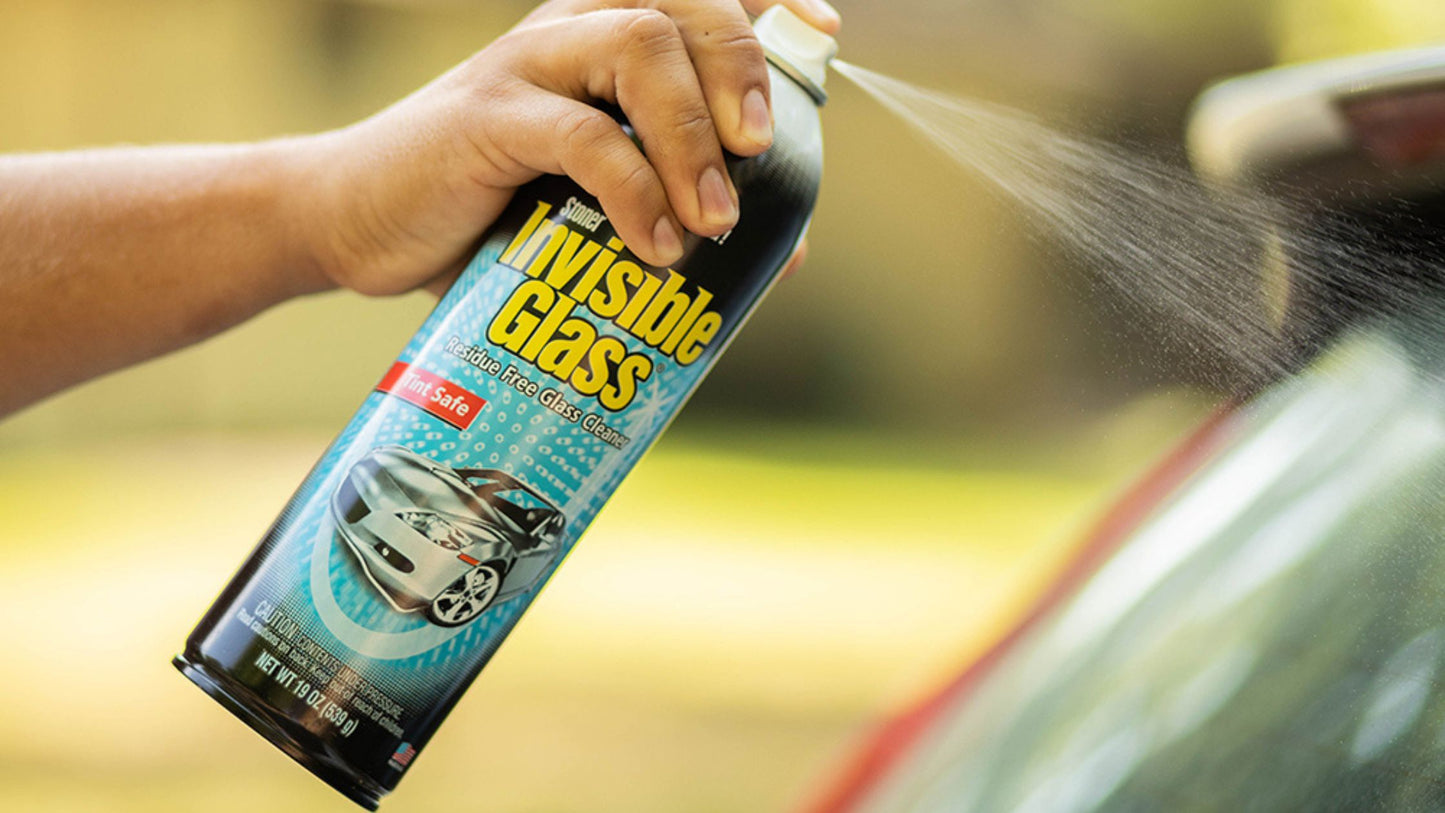
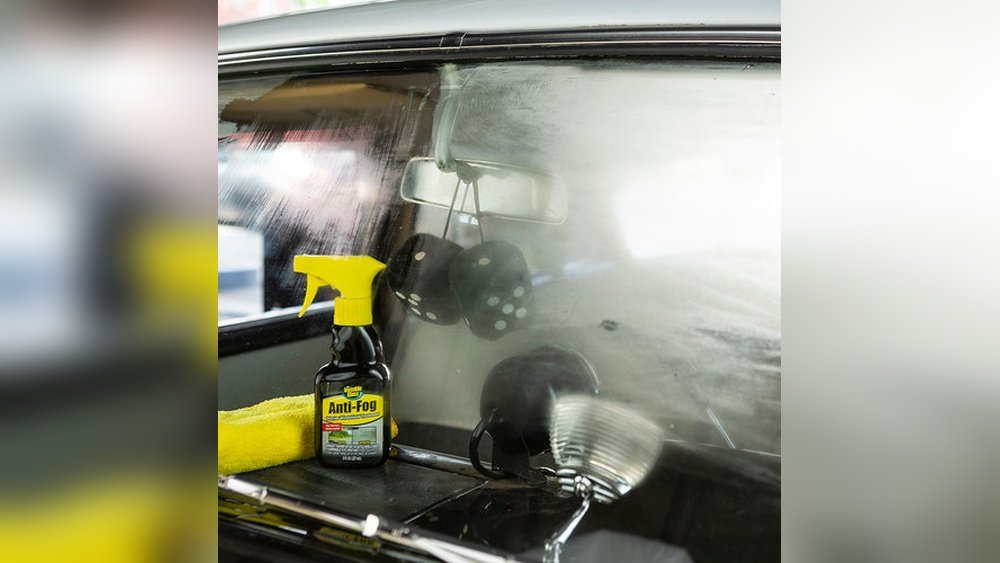
Commercial Cleaners
Commercial cleaners are made for tough grime. They come in sprays, liquids, and wipes. Many have ingredients that cut through grease and dirt fast. Some formulas prevent fogging and repel water. Follow the instructions on the label for best results. Use a soft cloth or sponge to avoid scratches. These cleaners save time and effort. Ideal for deep cleaning or heavy buildup on windows.
Credit: www.walmart.com
Step-by-step Cleaning Process
Cleaning grimy car windows is simple with a clear plan. Follow each step carefully for the best results. This process removes dirt and streaks for a spotless finish.
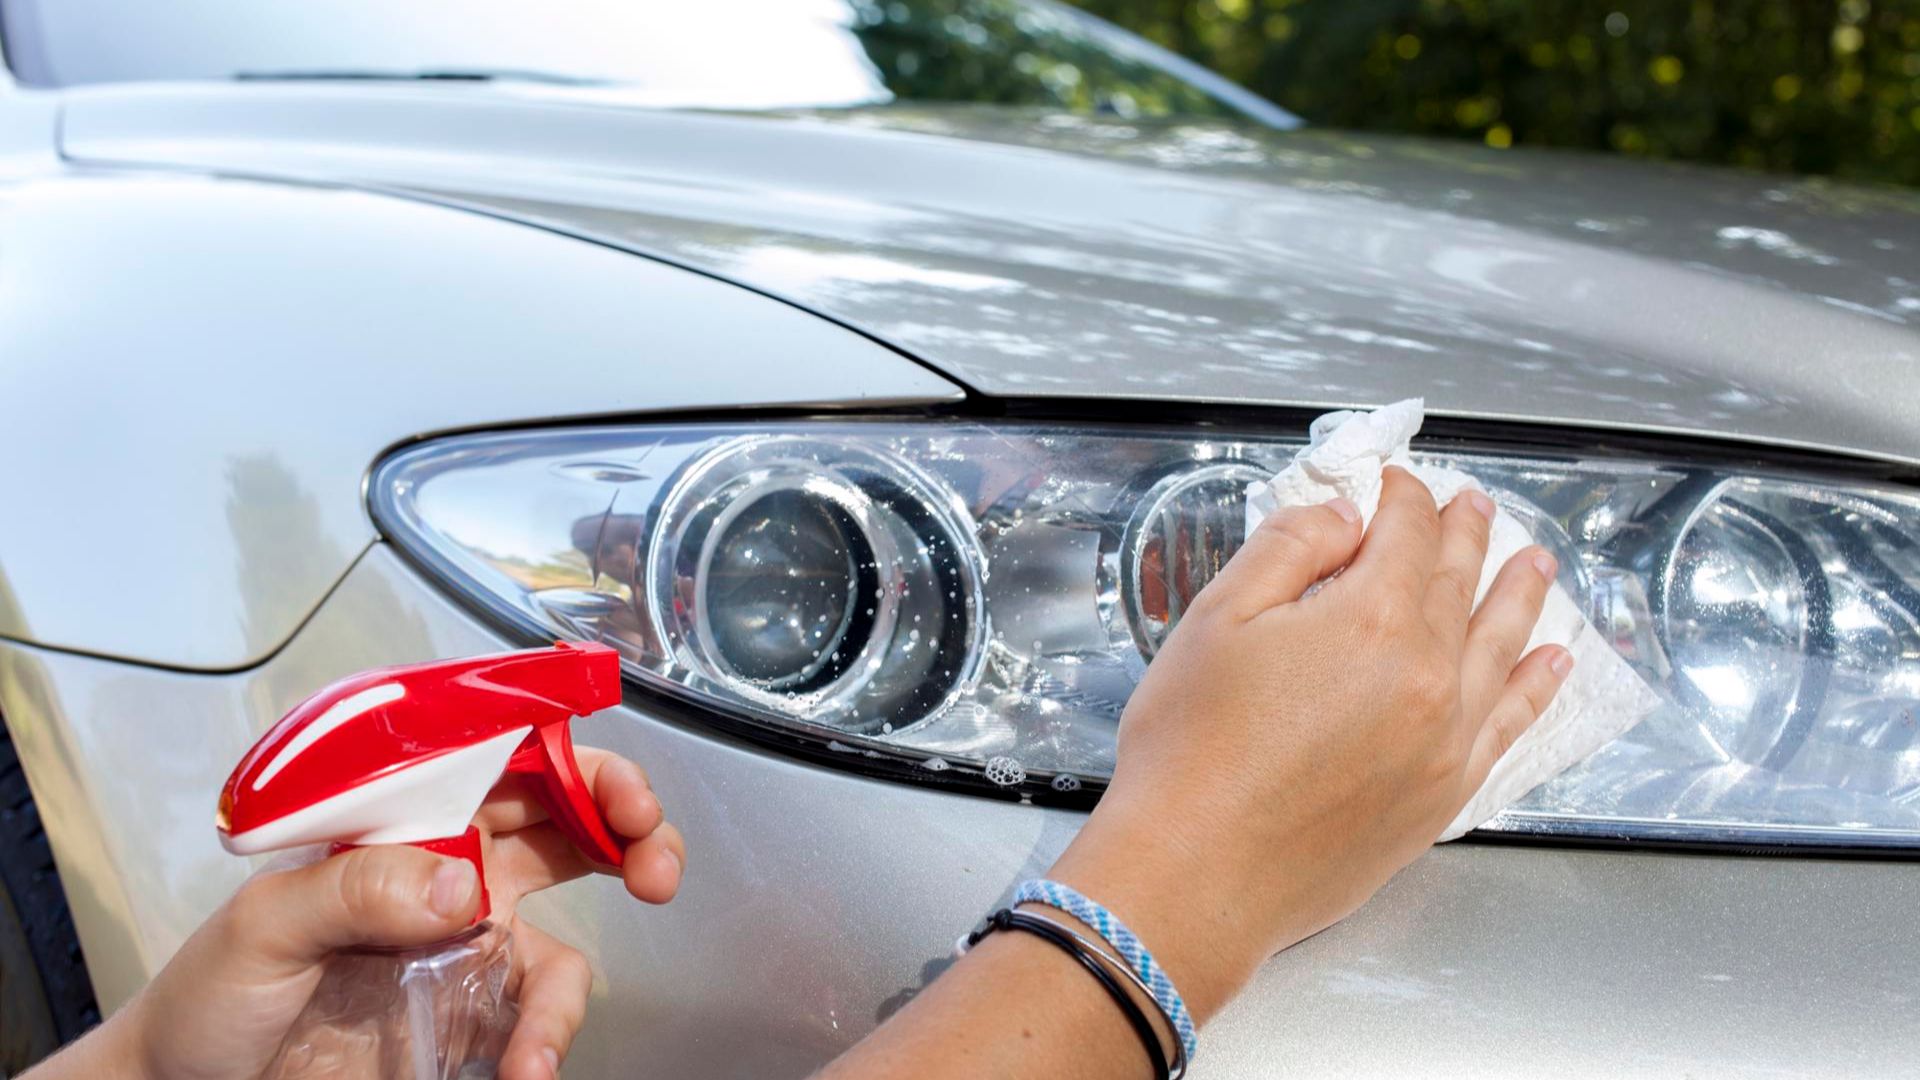
Applying Cleaner
Start by choosing a good glass cleaner or a mix of water and vinegar. Spray the cleaner evenly on the window surface. Avoid soaking the edges to prevent drips inside the car. Let the cleaner sit for a minute to loosen dirt and grime.
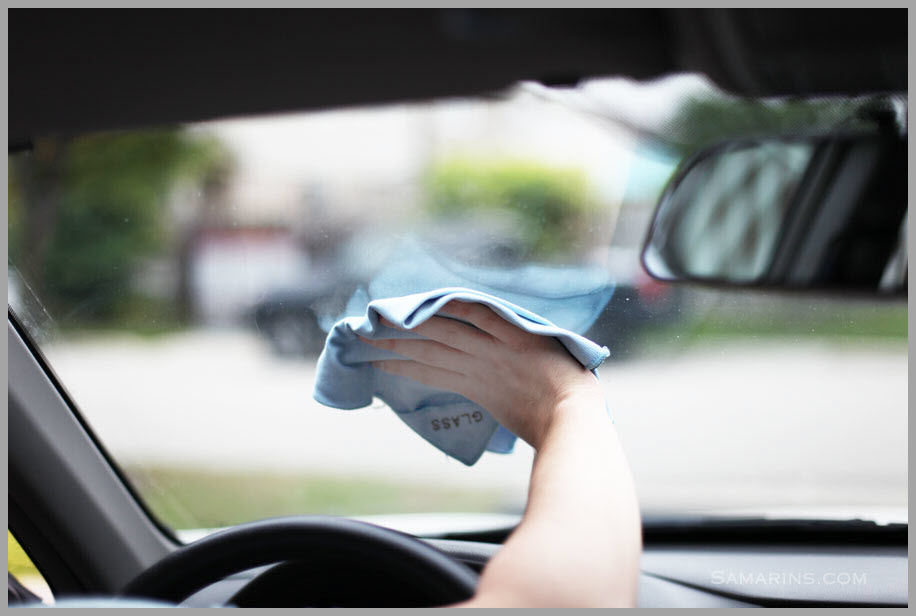
Scrubbing Techniques
Use a soft microfiber cloth or a sponge for scrubbing. Move the cloth in small circles to lift dirt gently. Focus on corners and edges where grime builds up. Avoid harsh scrubbing to prevent scratches on the glass.
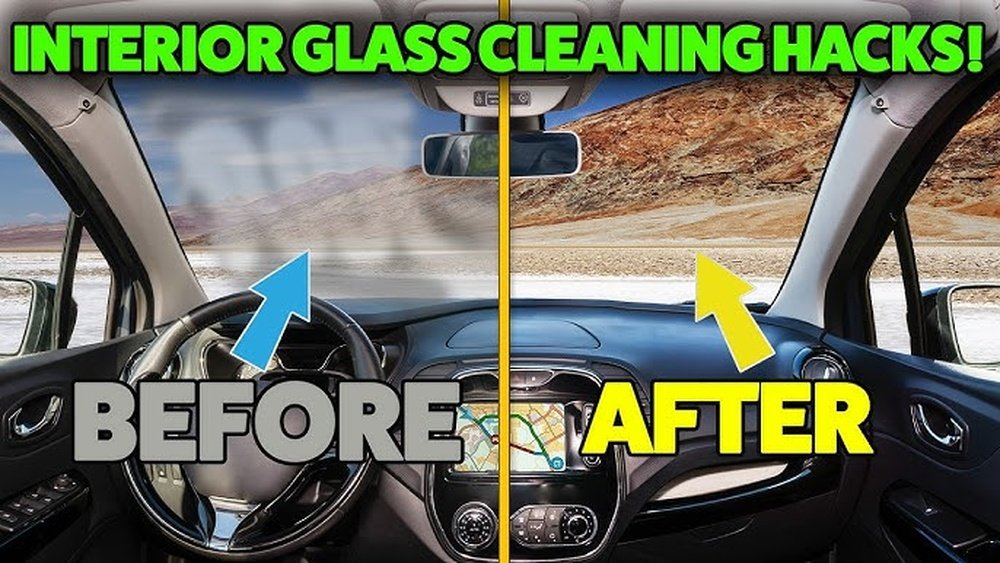
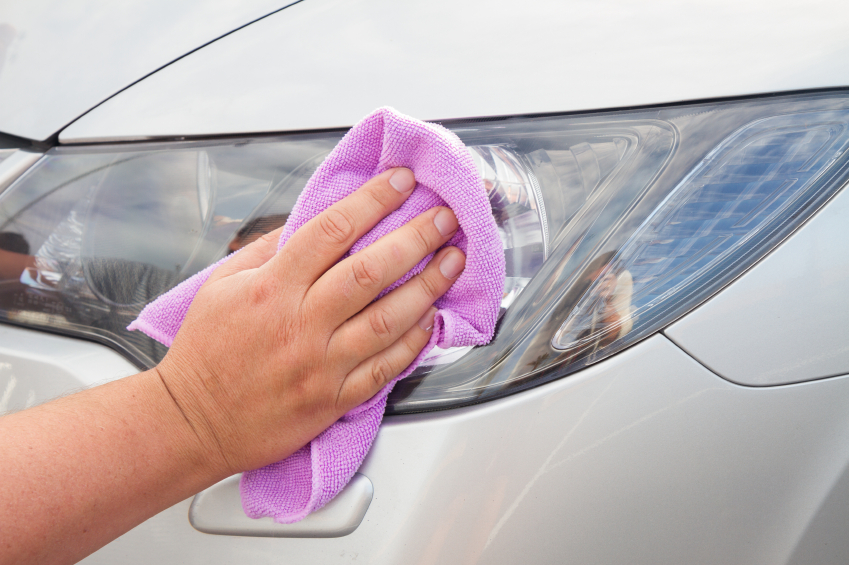
Drying And Polishing
Take a dry, clean microfiber cloth to wipe off the cleaner. Use straight strokes from top to bottom for a streak-free look. Buff the window lightly to polish and remove any remaining marks. Clear windows improve safety and enhance your car’s appearance.
Tackling Stubborn Stains
Stubborn stains on car windows can block your view and make driving unsafe. These marks need special care to remove without damaging the glass. This section explains how to clean tough stains like bird droppings, sap, water spots, and hard minerals. Follow these tips to get clear, shiny windows again.
Bird Droppings And Sap
Bird droppings and sap stick firmly to windows. They can cause damage if left too long. Start by softening the stains. Spray warm water or a mix of water and mild soap on the area. Let it sit for a few minutes.
Use a soft cloth or sponge to gently rub the spot. Avoid scrubbing hard to prevent scratches. For sap, rubbing alcohol can help break it down. Dab a small amount on a cloth and gently wipe the sap. Clean the area with water afterward.
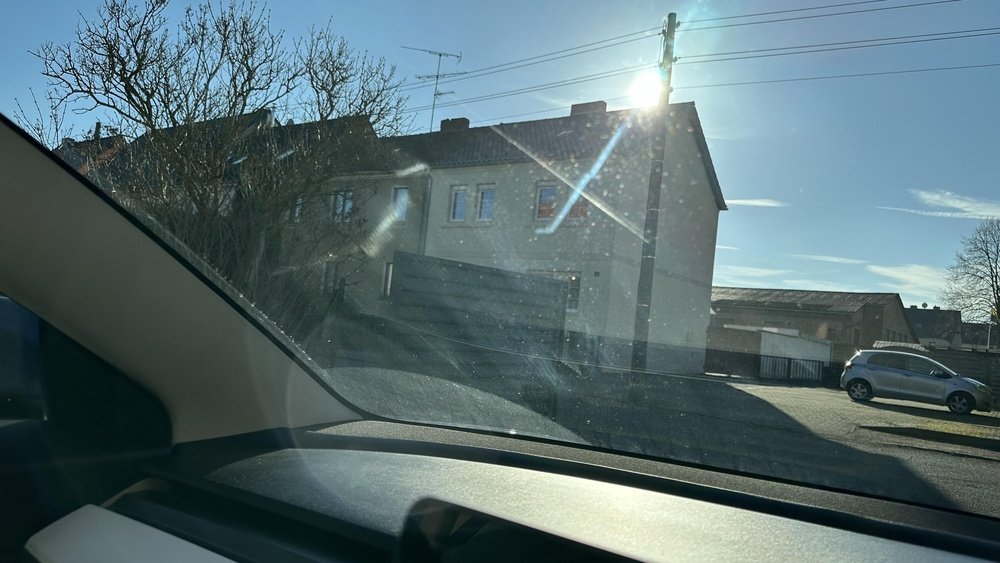
Water Spots And Hard Minerals
Water spots and hard minerals leave white marks on glass. These stains come from dried water droplets. Use a vinegar and water solution to dissolve mineral buildup. Mix equal parts of white vinegar and water in a spray bottle.
Spray the solution on the spots and let it sit for five minutes. Wipe with a clean cloth in circular motions. Repeat if needed for strong stains. Finish by rinsing with water and drying the window with a microfiber cloth.

Credit: www.chemicalguys.com
Maintaining Sparkling Windows
Maintaining sparkling car windows keeps your drive clear and safe. Clean windows help you see better and make your car look fresh. Dirt and grime build up fast. Regular care stops this build-up and saves time later. Follow simple steps to keep your windows shining.
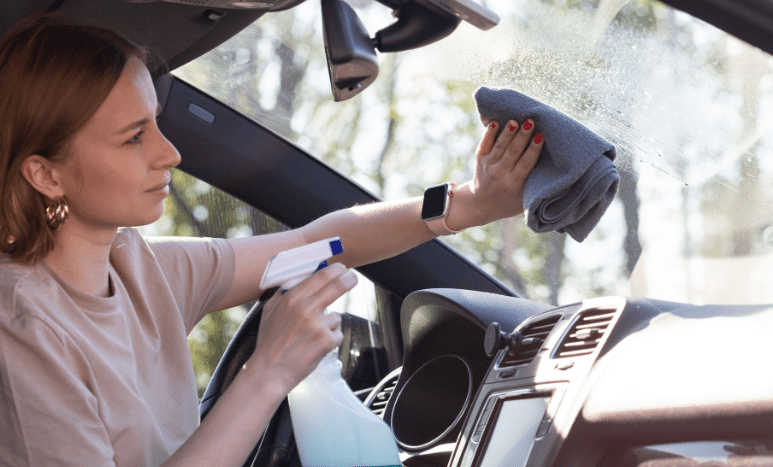
Regular Cleaning Routine
Clean car windows at least once a week. Use a good glass cleaner and a soft cloth. Spray the cleaner on the cloth, not directly on the glass. Wipe in circular motions to remove dirt and smudges. Don’t forget the edges and corners where grime hides. Dry the glass with a clean, dry cloth to avoid streaks. Repeat inside and outside windows for best results.
Tips To Prevent Future Grime
Park in shaded or covered areas to reduce dust and dirt. Avoid touching windows with dirty hands. Use a water-repellent spray to keep rain and grime off. Clean your car regularly to stop dirt buildup. Change windshield wipers often to prevent streaks and scratches. Small habits help keep windows clear and bright longer.
Safety Tips While Cleaning
Cleaning car windows can be tricky and sometimes risky. Safety is very important to avoid injuries or damage. Keep these tips in mind to clean your windows safely and effectively.
Avoiding Damage
Use soft cloths or microfiber towels to prevent scratches. Avoid harsh chemicals that can harm the glass or car paint. Always test cleaning solutions on a small area first. Do not use abrasive sponges or brushes on windows. Keep sharp objects away from the glass to stop cracks or chips.
Working In Safe Conditions
Choose a well-lit area to see grime clearly. Clean your windows in a flat, stable place to avoid slips. Avoid cleaning in direct sunlight to prevent streaks. Wear gloves to protect your skin from cleaning agents. Keep children and pets away while cleaning for safety.
Frequently Asked Questions
How Do I Remove Grime From Car Windows Effectively?
Use a microfiber cloth and a glass cleaner made for cars. Spray the cleaner evenly, then wipe in circular motions. Avoid harsh chemicals that can damage tint or glass. Regular cleaning prevents buildup and keeps windows clear.
What Household Items Clean Grimy Car Windows Safely?
White vinegar mixed with water works well. Use a 50/50 solution in a spray bottle. Apply to windows and wipe with a microfiber cloth. This method removes grime without harsh chemicals and is cost-effective.
How Often Should I Clean My Car Windows?
Clean car windows every two weeks for best results. Frequent cleaning prevents dirt buildup and improves visibility. Adjust frequency if you drive in dusty or rainy areas. Regular care maintains window clarity and safety.
Can I Use Paper Towels To Clean Car Windows?
Avoid paper towels as they can leave lint and scratches. Use a soft microfiber cloth instead for streak-free cleaning. Microfiber is gentle, absorbs dirt, and prevents damage. It’s the best choice for car windows.
Conclusion
Clean car windows improve your driving safety and comfort. Use simple tools like microfiber cloths and gentle cleaners. Regular cleaning stops dirt and grime from building up. Clear windows help you see better on the road. Try to clean your windows every week or after bad weather.
Keep your car looking fresh and easy to drive. Small efforts make a big difference in visibility. Stay safe and enjoy a clearer view every time you drive.