Your car’s window molding might seem like a small detail, but it plays a big role in keeping your vehicle looking sharp and protected. If you’ve noticed dirt, grime, or even mold building up around your windows, it’s time to take action.
Cleaning your car window molding isn’t just about appearances—it can prevent damage and keep your car’s value intact. You’ll discover simple, effective steps to clean your window molding quickly and safely. Ready to bring back that fresh, polished look? Let’s dive in and make your car shine like new.

Credit: www.ebay.com
Tools And Materials Needed
Cleaning car window molding requires the right tools and materials. Using proper supplies makes the task easier and more effective. It helps remove dirt and grime without damaging the molding. Prepare everything before you start to save time and effort.
Cleaning Solutions
Choose a gentle cleaner safe for rubber and plastic. Mild soap mixed with water works well. Avoid harsh chemicals that can dry or crack the molding. A dedicated automotive cleaner can also be used for tough dirt.
Brushes And Cloths
Use soft brushes to reach small gaps and edges. A toothbrush or a small detailing brush works best. Microfiber cloths are ideal for wiping and drying. They prevent scratches and absorb moisture efficiently.
Protective Gear
Wear gloves to protect your hands from cleaners. Safety glasses keep your eyes safe from splashes. Use a mask if you use strong cleaning products to avoid inhaling fumes.
Preparing The Car Window Area
Preparing the car window area is the first step in cleaning the window molding properly. This step helps remove dirt and dust that can scratch the molding. A clean surface allows the cleaning product to work better. Taking time to prepare the area saves effort later.
Removing Loose Dirt
Start by removing loose dirt and dust from the window molding. Use a soft brush or cloth to gently wipe away dirt. Avoid using hard brushes that can damage the molding. You can also use compressed air to blow away dirt from tight spots. Removing loose dirt prevents scratches during cleaning.
Drying The Surface
After removing dirt, dry the surface with a clean, dry cloth. Make sure the molding is completely dry before applying any cleaner. A dry surface helps the cleaner stick better and work more effectively. Avoid leaving water on the molding as it can cause streaks or spots.
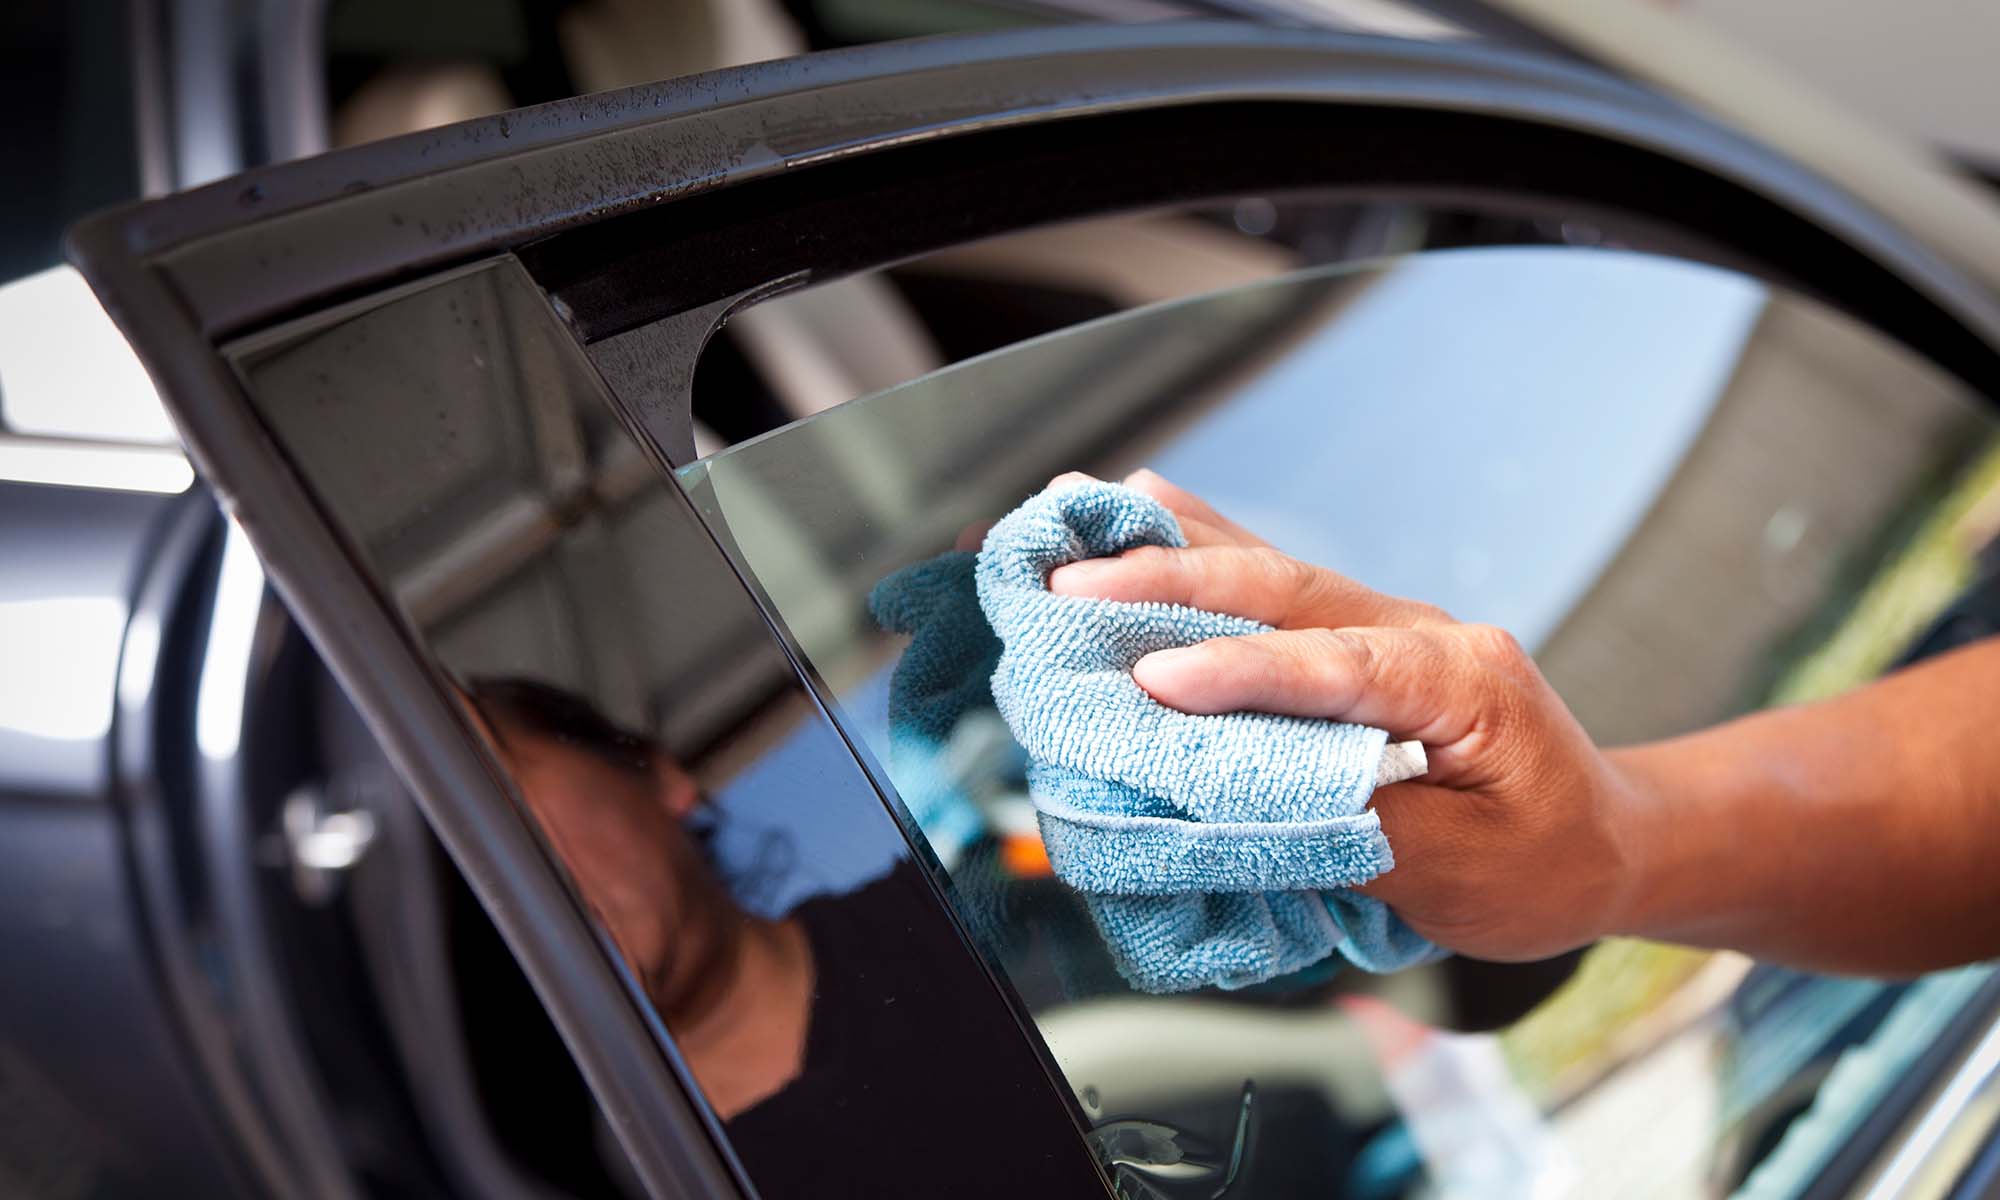
Cleaning The Window Molding
Cleaning the window molding of your car keeps it looking fresh and helps prevent damage. Dirt and grime build up over time and can cause wear. Regular cleaning protects the rubber and plastic parts around the windows. It also improves the overall appearance of your vehicle. Follow these simple steps for effective cleaning.
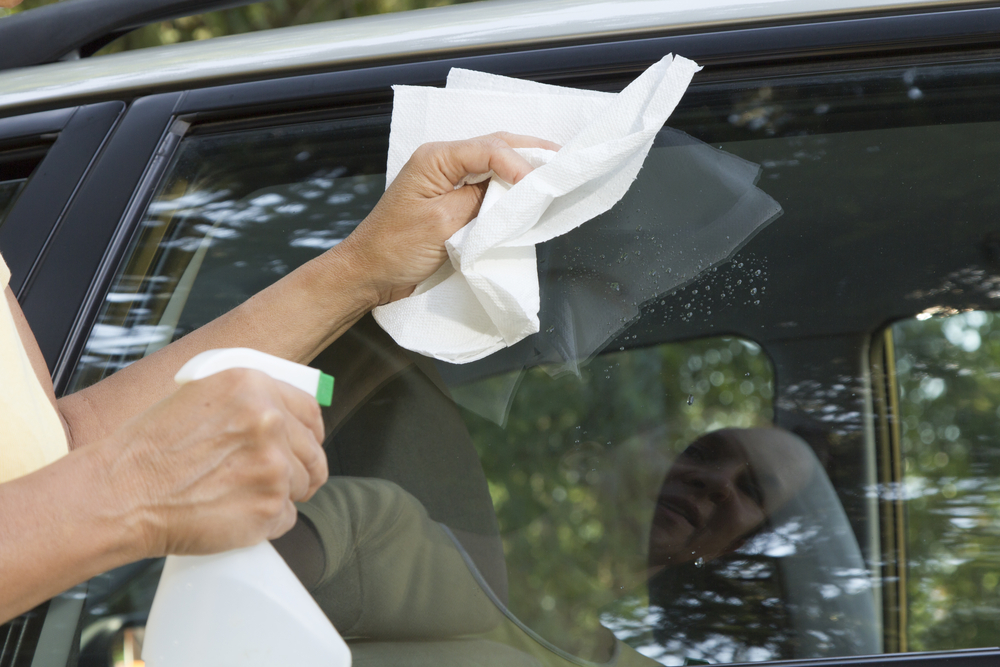
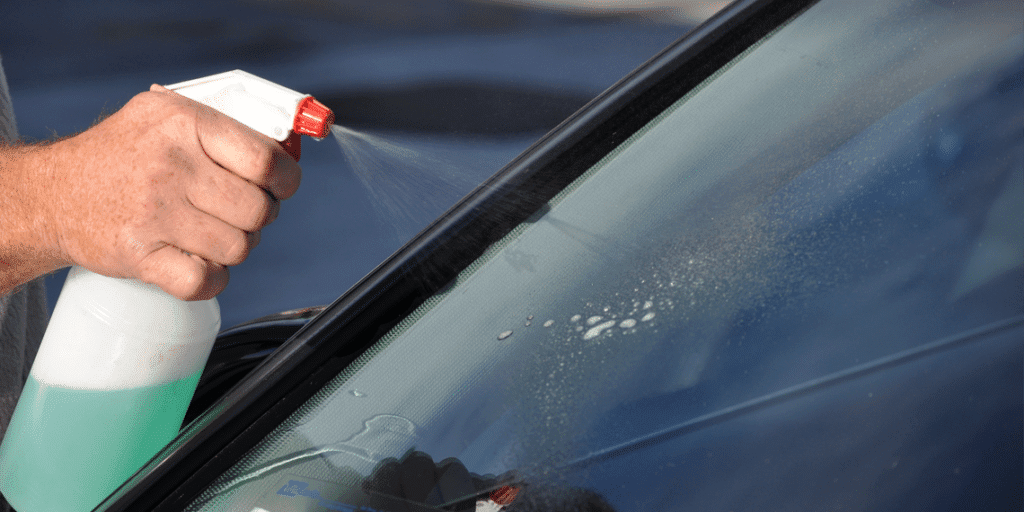
Applying Cleaning Solution
Choose a gentle cleaner safe for rubber and plastic. Spray or apply the solution evenly on the window molding. Let it sit for a few minutes to loosen dirt. Avoid harsh chemicals that can cause cracking or fading. Use a cleaner made for car exteriors or mild soap mixed with water.
Scrubbing Techniques
Use a soft brush or sponge to scrub the molding gently. Focus on areas with heavy dirt or stains. Move in small, circular motions to lift grime. Avoid using stiff brushes that might scratch the surface. Take your time and be thorough for best results.
Rinsing Off Residue
Rinse the molding with clean water to remove all cleaning solution. Use a hose or a wet cloth to wash away soap and dirt. Make sure no residue is left behind, as it can attract more dirt. Dry the molding with a soft towel to prevent water spots.
Credit: civic-eg.com
Dealing With Stubborn Stains
Stubborn stains on car window molding can be tough to remove. These marks may come from dirt, tar, or old grease. Cleaning them carefully helps keep the molding looking new and protects it from damage.
Some stains need more than basic washing. Using the right tools and methods helps get rid of tough spots without hurting the molding.
Using Specialized Cleaners
Specialized cleaners are made for automotive use. They break down dirt and grime without harming rubber or plastic molding. Choose a cleaner labeled safe for car trim. Spray it on the stained area and let it sit for a few minutes. Use a soft cloth to wipe the stain gently. Repeat if needed until the stain fades. Always test the cleaner on a small hidden spot first.
Gentle Abrasion Methods
For very stubborn stains, gentle abrasion can help. Use a soft-bristle brush or a foam sponge. Avoid rough scrubbing that might scratch or damage the molding. Lightly rub the stained area with the brush in a circular motion. This helps lift dirt without harm. After scrubbing, wipe the area with a damp cloth to remove residue. Pat dry with a clean towel to finish.
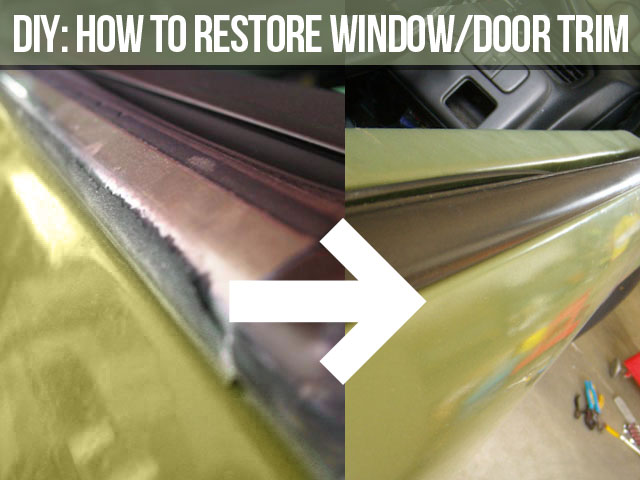
Protecting And Restoring Shine
Protecting and restoring the shine of car window molding keeps your vehicle looking fresh. Clean moldings can brighten the whole car appearance. Proper care stops dirt and sun damage from dulling the surface. Simple steps can bring back the original shine quickly. Consistent care extends the life of the molding and protects it from cracks.
Applying Protective Coatings
Choose a protective coating designed for rubber or plastic moldings. These coatings create a barrier against UV rays and dirt. Apply the product with a soft cloth or sponge. Spread evenly and avoid over-application. Let the coating dry fully before touching the surface. Reapply every few months to keep protection strong. Protective coatings help keep the molding flexible and shiny.
Polishing Tips
Use a gentle polish made for car trim to restore shine. Apply a small amount on a microfiber cloth. Rub the polish in circular motions for best results. Polishing removes light scratches and smooths the surface. Buff the area with a clean cloth to reveal a glossy finish. Avoid harsh chemicals that can damage the molding. Regular polishing keeps the molding looking new and smooth.

Credit: www.youtube.com
Maintaining Clean Window Molding
Maintaining clean window molding helps protect your car from damage. Dirt and grime can build up and cause the molding to crack or fade. Keeping the molding clean also improves the car’s look. Regular care makes the molding last longer and keeps your vehicle looking sharp.
Regular Cleaning Schedule
Set a regular time to clean the window molding. Clean it at least once every two weeks. More often if you drive on dusty or muddy roads. Use a soft cloth or sponge with mild soap and water. Rinse well to remove all soap. Dry the molding with a clean towel to stop water spots.
Avoiding Common Mistakes
Do not use harsh chemicals or strong cleaners on molding. They can cause damage and fade the color. Avoid rough scrubbing or using abrasive brushes. These can scratch the surface. Do not skip drying the molding after washing. Water left on the molding can cause stains or mold growth.
Frequently Asked Questions
How Often Should I Clean Car Window Molding?
Clean car window molding every 1 to 2 months. Regular cleaning prevents dirt buildup and protects the molding from damage. Frequent cleaning keeps the molding looking fresh and extends its lifespan.
What Tools Are Needed To Clean Window Molding?
Use a soft brush, microfiber cloth, mild soap, and water. These tools gently remove dirt without damaging the molding. Avoid harsh tools to prevent scratches and discoloration.
Can I Use Household Cleaners On Car Molding?
Avoid harsh household cleaners; they can damage the molding. Use automotive-safe cleaners or mild soap with water instead. This ensures effective cleaning without harming the material or finish.
How To Prevent Mold Buildup On Window Molding?
Regular cleaning and drying after washing your car prevent mold growth. Use a protective dressing designed for rubber or plastic molding. Keeping the molding dry limits moisture that causes mold.
Conclusion
Cleaning car window molding keeps your vehicle looking fresh and neat. Dirt and grime can damage the molding over time. Regular cleaning helps prevent cracks and fading. Use gentle cleaners and soft cloths for best results. Taking a few minutes to clean molding protects your car’s value.
Simple steps make the job quick and easy. Keep your car’s windows and molding in great shape. A clean car always feels better to drive.