
Have you noticed your car windows moving slower than usual or not working at all? The culprit might be a dirty or clogged window motor.
Cleaning your car window motor can bring back smooth, quiet operation without costly repairs. In this guide, you’ll learn simple, effective steps to clean your window motor yourself, saving time and money. Keep reading to discover how easy it is to get your windows working like new again.
Signs Of A Dirty Window Motor
A dirty window motor can cause several problems with your car’s window. Recognizing the signs early helps avoid bigger issues. These signs often indicate dirt or debris inside the motor. Paying attention to them can save time and money on repairs.
Slow Window Movement
One clear sign of a dirty window motor is slow window movement. The window may take longer to go up or down. It might also stop halfway more often than usual. Dirt can cause friction inside the motor, reducing its speed.
Unusual Noises
Strange sounds coming from the door panel can mean a dirty motor. Grinding, clicking, or whining noises are common. These noises happen because dirt blocks the motor’s parts. The motor struggles to turn smoothly, causing these sounds.
Intermittent Operation
The window may work sometimes and fail other times. This intermittent operation is a sign of dirt or corrosion. The motor’s electrical parts might lose contact briefly. Dirt inside the motor can cause this unreliable behavior.
Tools And Materials Needed
Cleaning a car window motor requires the right tools and materials. These help you work safely and get the best results. Preparing everything before starting saves time and avoids mistakes.
Gathering the correct supplies also protects the motor from damage. Using the wrong products can cause more problems. Below are the essential items to have ready.
Basic Cleaning Supplies
Start with simple cleaning tools. Soft cloths remove dirt without scratching. Small brushes help reach tight spots. Mild soap or detergent cleans grime gently. Avoid harsh chemicals that can harm parts.
Protective Gear
Wear gloves to protect your hands from dirt and chemicals. Safety glasses keep dust and debris out of your eyes. A mask stops you from breathing in dust or fumes. Dress in old clothes to avoid stains.
Lubricants And Electrical Cleaners
Use silicone spray or white lithium grease to lubricate moving parts. These reduce friction and noise. Electrical contact cleaner removes dust and corrosion from connectors. Avoid oily lubricants that attract dirt.
Preparing Your Car For Cleaning
Preparing your car for cleaning the window motor is an important first step. It helps prevent damage and keeps you safe. Taking time to get ready makes the cleaning process easier and more effective.
Before starting, clear the workspace around your car. This gives you room to work comfortably. Gather all tools and materials needed. Preparation helps avoid interruptions during the cleaning.
Safety Precautions
Wear gloves to protect your hands from dirt and sharp edges. Use safety glasses to shield your eyes from dust and debris. Work in a well-lit area to see all parts clearly. Avoid loose clothing that can get caught in tools or car parts.
Removing Door Panels
Locate screws and clips holding the door panel in place. Use a screwdriver or panel removal tool carefully. Gently pry the panel away from the door frame. Keep screws and clips in a safe place for reassembly. Removing the panel exposes the window motor for cleaning.
Disconnecting The Battery
Turn off the car ignition before disconnecting the battery. Use a wrench to loosen the negative battery terminal first. Remove the cable and set it aside safely. This step prevents electrical shocks and accidental short circuits. Always disconnect the battery before working on electrical parts.
Credit: stonedesignbysantos.com
Cleaning The Window Motor
Cleaning the window motor is important to keep your car windows working well. Dirt and dust can cause the motor to slow down or stop. Regular cleaning helps the motor last longer and work smoothly. This section explains how to clean the window motor safely and effectively.
Removing Dirt And Debris
Start by turning off the car and disconnecting the battery. Use a soft brush or cloth to remove dirt from the motor’s surface. Avoid using water directly on the motor to prevent damage. Remove any loose debris carefully, especially around the moving parts. This step clears dust and helps the motor run better.
Cleaning Electrical Contacts
Electrical contacts can get dirty and cause poor connection. Use a contact cleaner spray made for electronics. Spray a small amount on the contacts and wipe gently with a clean cloth. Make sure the contacts are dry before reconnecting the battery. Clean contacts improve the flow of electricity to the motor.
Inspecting For Damage
Check the motor and wires for signs of wear or damage. Look for cracks, broken parts, or loose wires. Damaged parts can stop the motor from working. Replace any worn or broken pieces to avoid bigger problems. Regular inspection helps keep your window motor in good shape.
Lubricating Moving Parts
Lubricating the moving parts of a car window motor is key to keeping it working smoothly. Dirt and dust can cause friction and wear on these parts. Proper lubrication reduces noise and prevents damage. It also helps the motor run quietly and last longer. Follow simple steps to choose and apply the right lubricant carefully.
Choosing The Right Lubricant
Pick a lubricant made for car parts. Silicone spray or white lithium grease works well. Avoid oil-based lubricants. They attract dirt and can cause more problems. Check the product label for use on plastic and metal. This ensures safe and effective lubrication.
Applying Lubricant Properly
Clean the motor parts before applying lubricant. Use a cloth to remove dust and grime. Spray or apply a small amount on the moving parts. Focus on gears, pivots, and tracks. Move the window up and down to spread the lubricant evenly.
Avoiding Over-lubrication
Use only a small amount of lubricant. Too much causes buildup and attracts dirt. Excess grease can slow down the motor. Wipe off any extra lubricant with a clean cloth. Keep the parts lightly coated for best performance.
Reassembling And Testing
Reassembling and testing the car window motor is the final step. This step ensures everything works well after cleaning. Take your time to put parts back correctly. Proper reassembly avoids damage and future issues.
Reattaching Door Panels
Start by aligning the door panel with the door frame. Press the panel gently until clips snap into place. Use screws to secure the panel tightly. Make sure all switches and handles fit properly. This step restores the door’s original look and function.
Reconnecting The Battery
Reconnect the car battery by attaching the terminals. Tighten the screws to ensure a solid connection. This step powers the window motor again. Check for any loose wires before moving on. Safety first to avoid short circuits or sparks.
Testing Window Functionality
Press the window switch to test the motor. Watch the window move up and down smoothly. Listen for unusual sounds like grinding or clicking. Test both automatic and manual functions if available. Proper testing confirms the motor cleans well and works perfectly.
Maintenance Tips For Window Motors
Keeping your car window motor in good shape helps it work longer and better. Regular care prevents problems and saves money on repairs. Small steps make a big difference in motor health.
Regular Cleaning Schedule
Clean the window motor every few months. Dust and dirt can block the motor parts. Use a soft brush or cloth to wipe away grime. Avoid water directly on the motor to stop damage. Regular cleaning keeps the motor running smooth.
Avoiding Common Mistakes
Do not spray cleaners or water directly on the motor. Avoid using harsh chemicals that can harm parts. Do not force the window up or down if it moves slow. Rough handling can break the motor gears. Always be gentle and patient when using windows.
When To Seek Professional Help
Strange noises or slow window movement need expert checks. If the window stops working completely, get help soon. Professionals can fix wiring or replace broken parts safely. Quick action prevents bigger damage and higher costs.

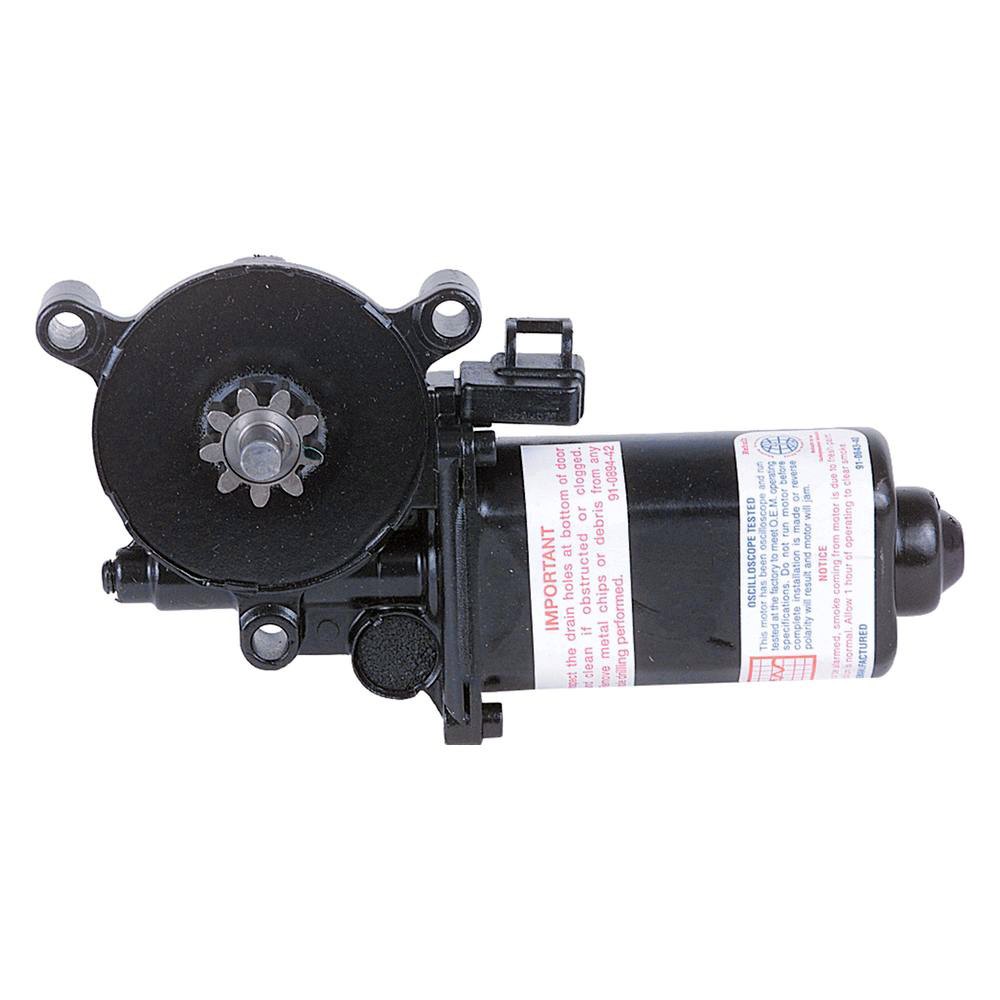
Credit: www.cardone.com
Credit: melody-group.co.il
Frequently Asked Questions
How Often Should I Clean A Car Window Motor?
Clean your car window motor every 6 to 12 months. Regular cleaning prevents dirt buildup and ensures smooth operation. It also extends the motor’s lifespan and reduces repair costs.
What Tools Are Needed To Clean A Car Window Motor?
You need a screwdriver, soft brush, microfiber cloth, electrical contact cleaner, and lubricating spray. These tools help safely remove dirt and debris without damaging the motor components.
Can I Clean A Car Window Motor Myself?
Yes, cleaning a car window motor is a simple DIY task. Follow safety steps like disconnecting the battery and handle parts gently. Proper cleaning improves motor function and prevents future issues.
What Signs Indicate A Dirty Car Window Motor?
If your window moves slowly, makes noise, or stops intermittently, the motor might be dirty. Cleaning can resolve these issues and restore proper window movement.
Conclusion
Cleaning your car window motor keeps it working smoothly. Dirt and grime can slow down or damage the motor. Regular cleaning helps avoid costly repairs later. You only need a few tools and some time. Follow the steps carefully and work safely.
A clean motor means better window movement every day. Keep this simple routine part of your car care. Your car will thank you with reliable window operation. Easy maintenance saves money and hassle in the long run. Give your car window motor the care it needs now.
Leave a Reply