Your car window felt might seem like a small detail, but it plays a big role in keeping your windows smooth and your ride quiet. Over time, dirt and grime build up on the felt, making it look worn and even affecting how well your windows open and close.
If you’ve noticed your windows sticking or heard annoying rattles, it’s time to clean that felt. You’ll learn simple, effective steps to refresh your car window felt, protect your windows, and keep your car feeling like new. Ready to get started?
Let’s dive in.

Credit: www.amazon.com
Why Clean Car Window Felt
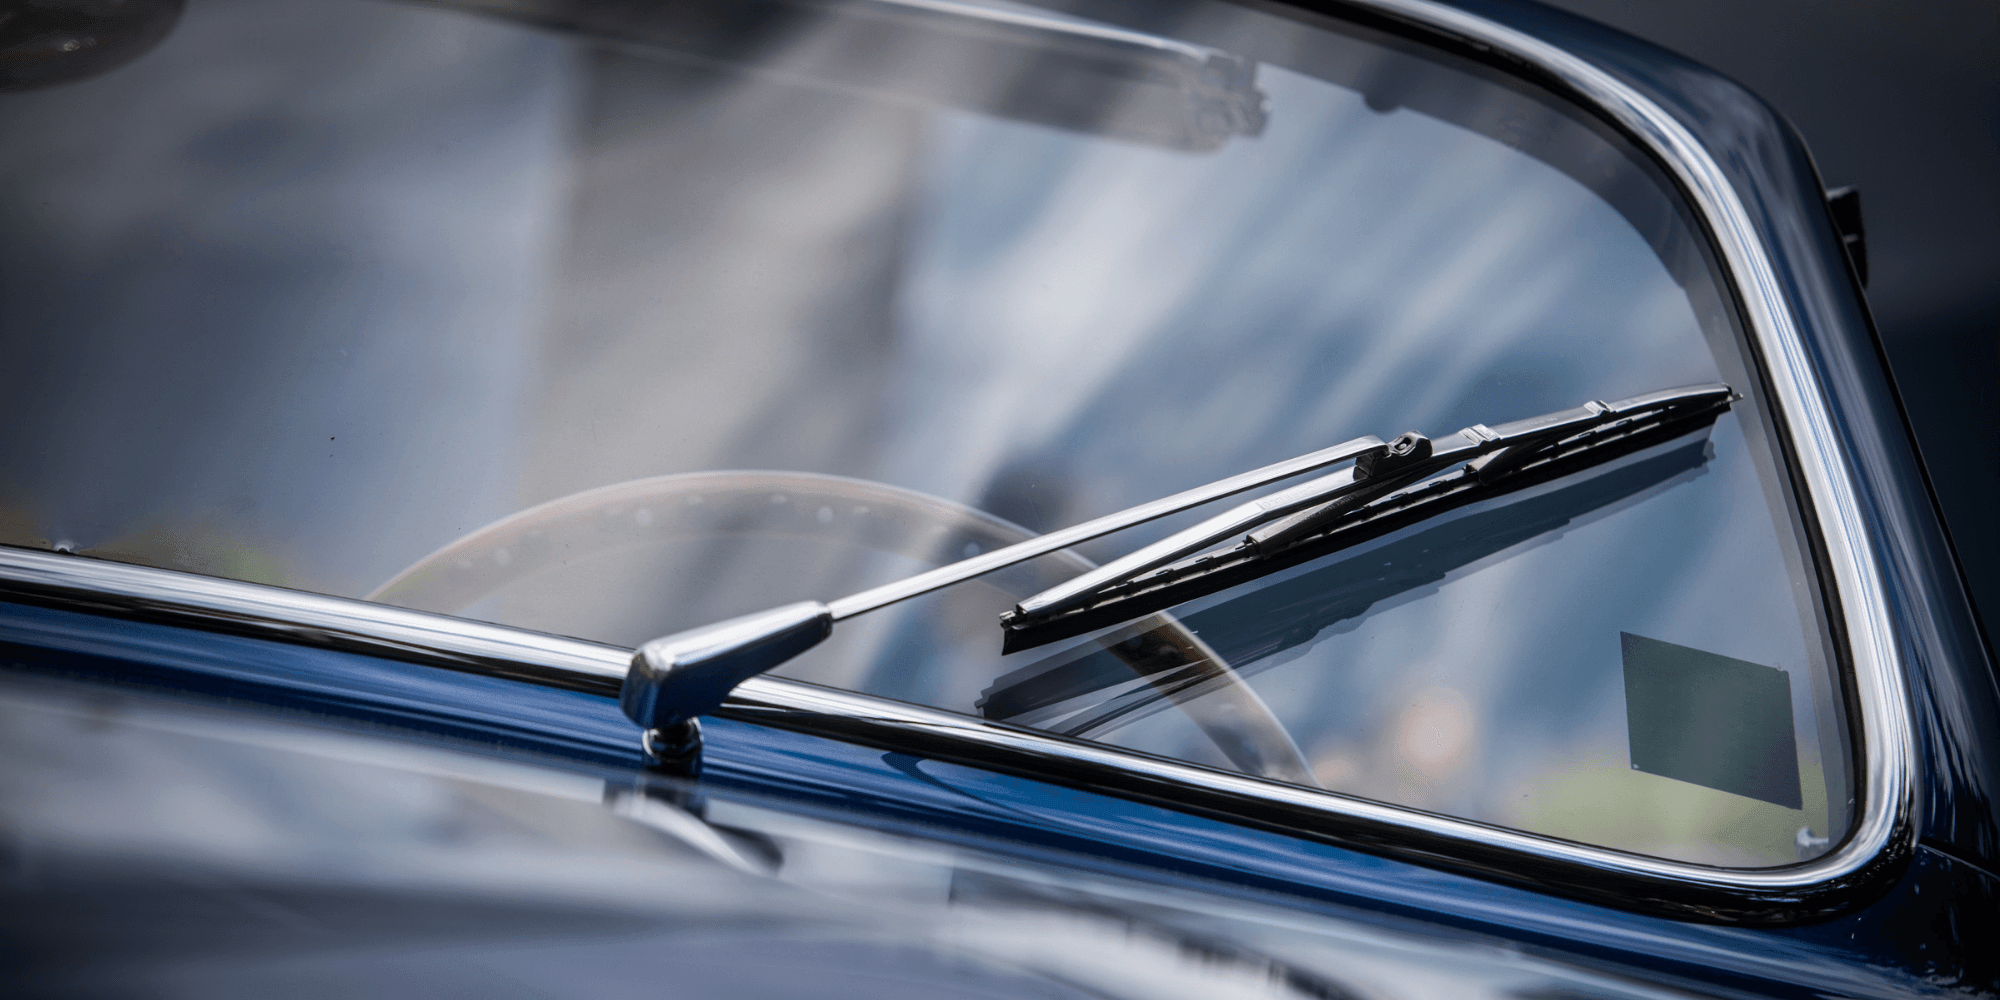
Car window felt often goes unnoticed. It is a soft strip along the window edges. This felt helps seal the window and prevents dust and water from entering. Cleaning it keeps the felt in good shape and protects your car. Dirty felt can cause many problems. Understanding why to clean it is important for every car owner.
Preventing Damage
Dust and dirt can wear down the felt. Over time, this causes the felt to tear or crumble. Cleaning removes harmful particles that cause damage. This extends the life of the felt. It also stops the felt from scratching the glass.
Improving Window Function
Dirty felt can block window movement. It may cause the window to stick or move slowly. Clean felt lets the window slide smoothly. This makes opening and closing the window easier. It also prevents the window from getting stuck.
Enhancing Car Appearance
Clean felt looks neat and fresh. It shows that the car is well cared for. Dirty or worn felt makes the car look old and neglected. Keeping the felt clean improves the overall look of the car. It adds to the car’s value and appeal.
Tools And Materials Needed
Cleaning car window felt needs the right tools and materials. Using proper supplies helps protect the felt and keeps it in good shape. It also makes cleaning easier and more effective.
Gather these items before starting. They help remove dirt without damaging the delicate felt.
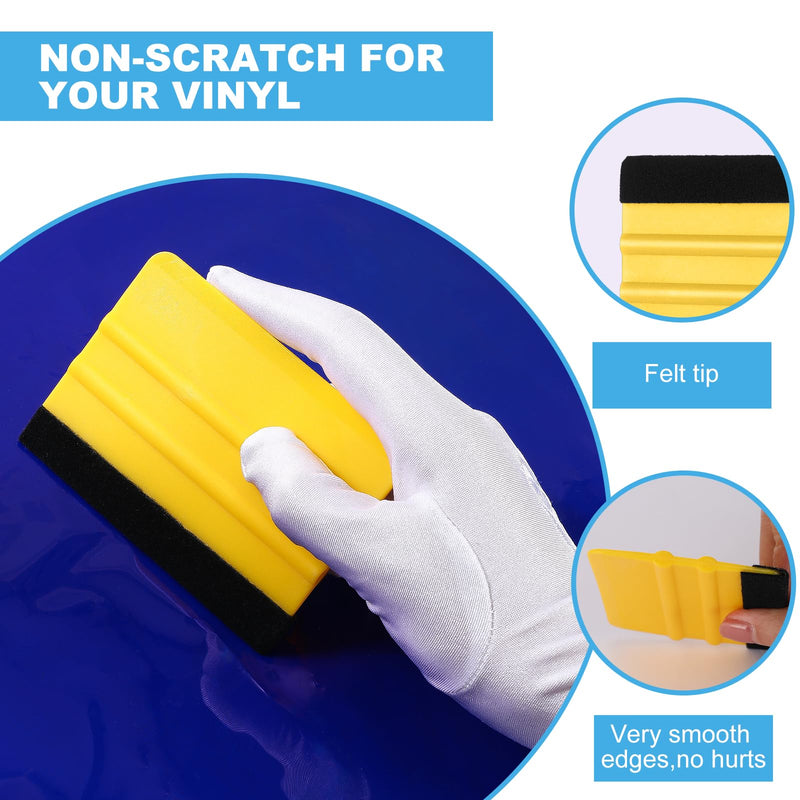
Soft Brushes
Soft brushes remove dust and loose dirt gently. Hard bristles can damage the felt fibers. Use a small brush with soft bristles to reach tight spots. A paintbrush or makeup brush often works well.
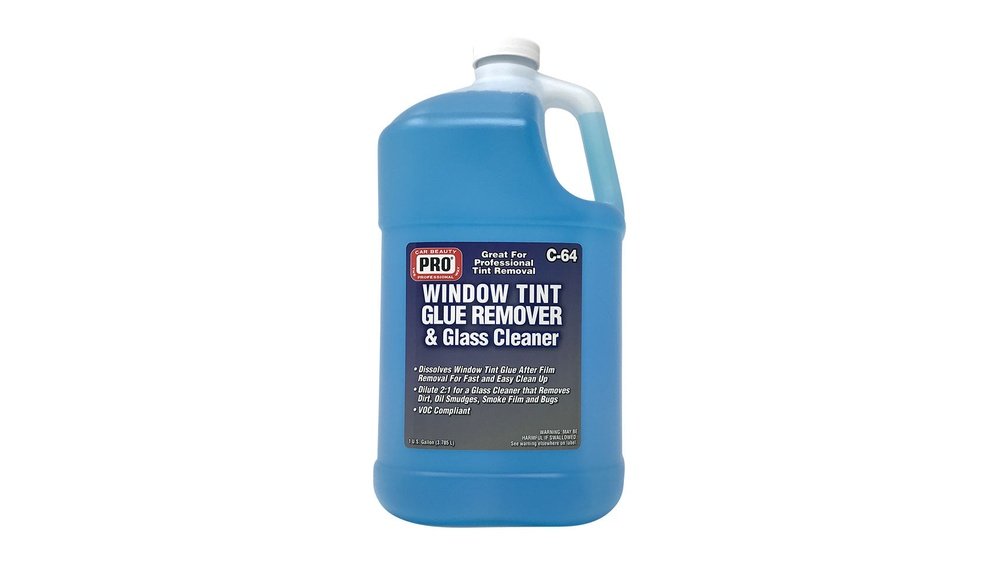
Mild Cleaners
Choose mild cleaners made for delicate fabrics. Avoid harsh chemicals that can stain or wear out the felt. A simple mix of water and gentle soap often does the trick. Always test a small area first to check for color changes.
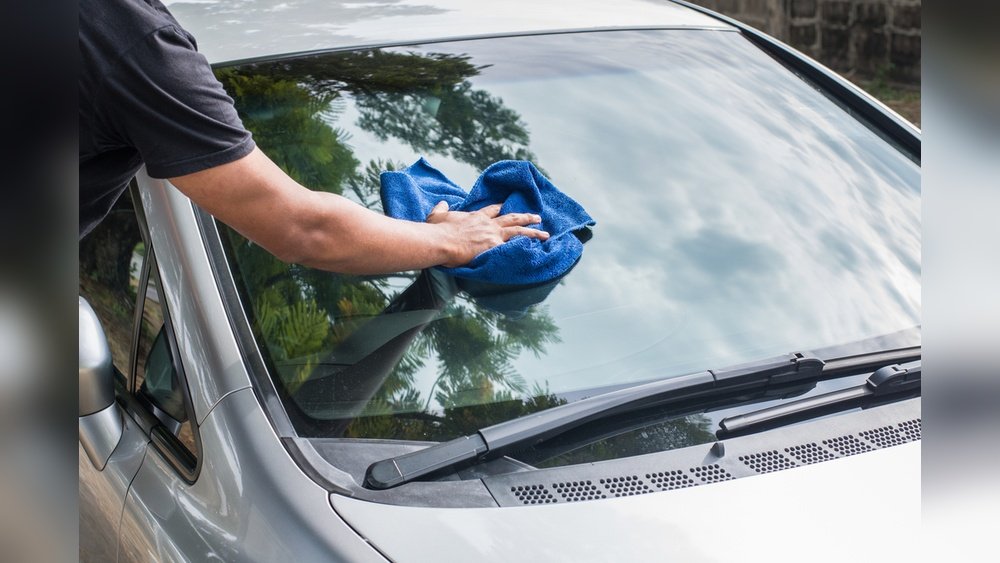
Microfiber Cloths
Microfiber cloths pick up dirt without scratching surfaces. They absorb moisture and clean without leaving lint behind. Use a clean, dry cloth for wiping the felt after brushing and cleaning. Soft and smooth, they protect the felt’s texture.
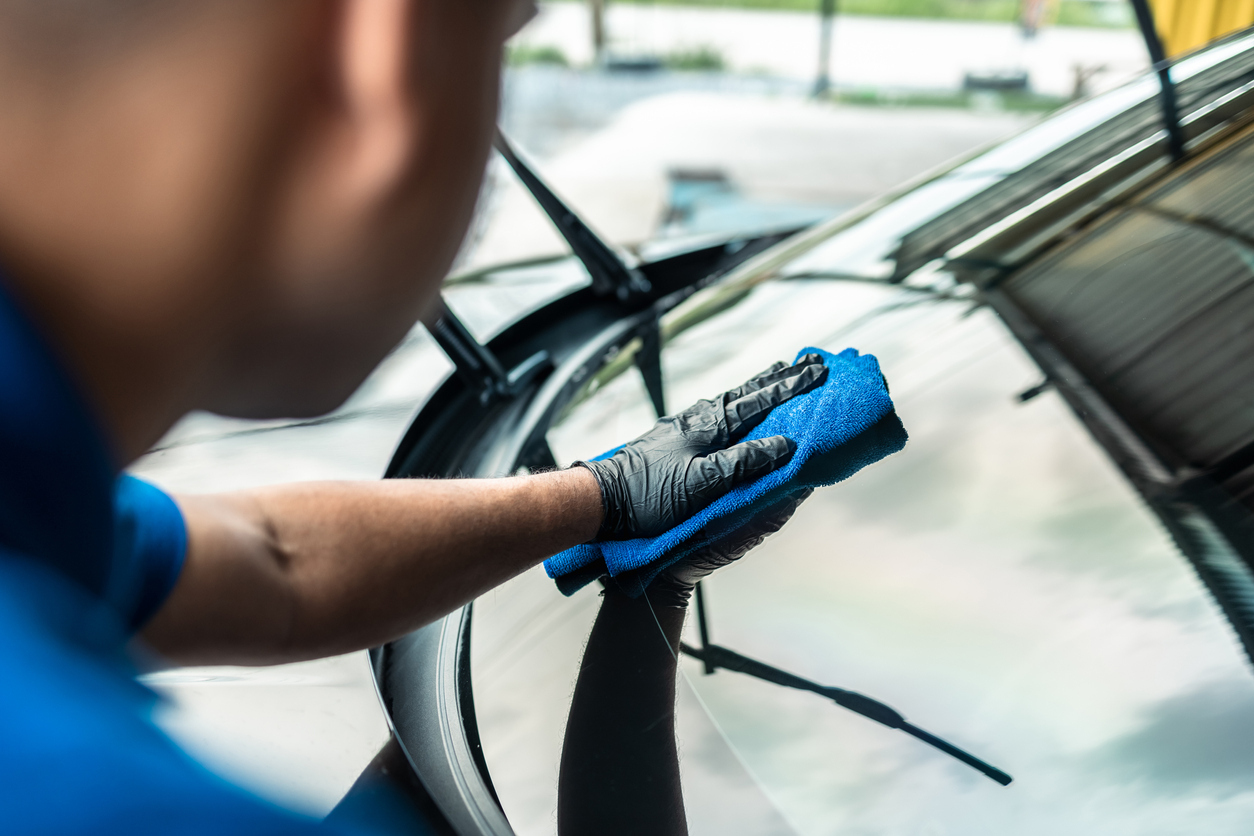
Step-by-step Cleaning Process
Cleaning car window felt is easy with a clear plan. Follow these simple steps for best results. Each step helps protect the felt and keeps it looking good. Take your time and work gently for a clean finish.
Preparing The Area
Find a clean, dry space to work on your car. Open the windows for fresh air. Gather all needed tools and cleaning supplies. Protect nearby surfaces to avoid spills or stains.
Removing Loose Dirt
Use a soft brush or vacuum to clear loose dirt and dust. Brush gently to avoid damaging the felt. Remove all visible debris before applying any cleaner. This step prevents dirt from spreading during cleaning.
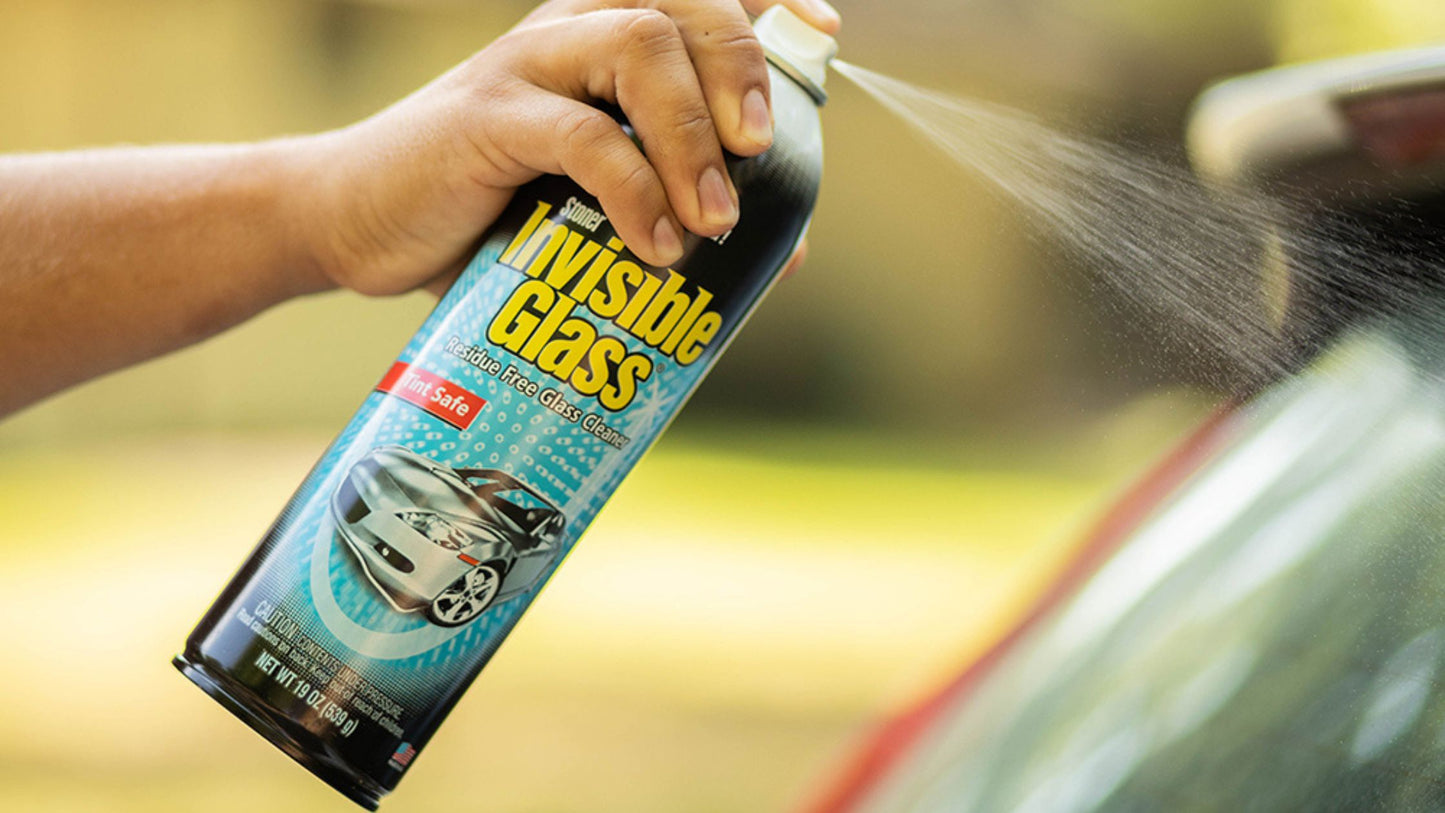
Applying Cleaner
Choose a mild cleaner safe for felt material. Spray or apply a small amount on a clean cloth. Avoid soaking the felt to prevent damage. Dab the cleaner lightly on the felt surface.
Gently Scrubbing Felt
Use a soft-bristled brush or sponge for scrubbing. Move in gentle, circular motions to lift dirt. Do not press too hard to avoid tearing the felt. Focus on stained or dirty spots carefully.
Drying And Finishing Touches
Pat the felt dry with a clean towel. Leave windows open to air dry completely. Check for any missed spots and repeat cleaning if needed. Once dry, the felt should feel soft and clean.

Credit: www.amazon.com
Tips For Tough Stains
Tough stains on car window felt can be hard to remove. Dirt, grease, and grime may settle deep in the fabric. Using the right cleaning methods helps keep the felt looking fresh. These tips focus on safe, effective ways to tackle stubborn spots.
Using Vinegar Solutions
Vinegar is a natural cleaner that breaks down stains well. Mix equal parts of white vinegar and water in a spray bottle. Lightly spray the stained area and let it sit for five minutes. Gently scrub with a soft brush or cloth. Vinegar helps lift dirt without damaging the felt.
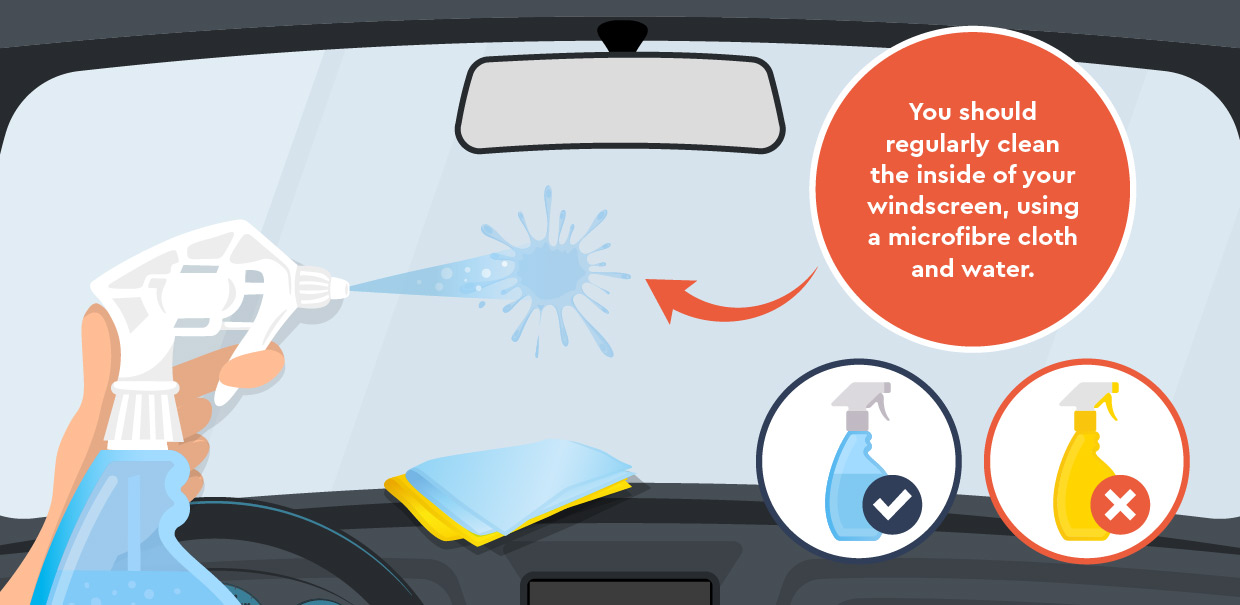
Avoiding Harsh Chemicals
Strong chemicals can ruin car window felt quickly. Avoid bleach, ammonia, or strong detergents. These can weaken the fabric and cause discoloration. Use mild cleaners or natural solutions instead. Protect the felt by choosing gentle cleaning products.
Repeat Cleaning Techniques
Some stains need more than one treatment. Clean the felt gently, then wait for it to dry. Check the stain’s progress before cleaning again. Repeat the process until the stain fades. Patience helps preserve the felt’s texture and color.
Maintaining Window Felt
Maintaining car window felt helps keep your windows working well. Clean felt stops dirt and moisture from causing damage. Regular care extends the life of the felt and keeps your car quiet.
Regular Cleaning Schedule
Clean the window felt every few weeks. Use a soft brush or cloth to remove dust. Light cleaning prevents dirt buildup and keeps felt soft. Avoid harsh chemicals that can damage the felt fibers.
Protective Measures
Keep windows closed during heavy rain to protect felt. Use sunshades to reduce sun damage. Avoid slamming doors to prevent felt from tearing. Small steps protect felt and save repair costs.
When To Replace Felt
Replace felt if it feels rough or stiff. Look for cracks, tears, or missing pieces. Worn felt lets water and air inside the car. New felt improves window seal and reduces noise.
Credit: northstatesigns.com
Frequently Asked Questions
What Is Car Window Felt And Why Clean It?
Car window felt is the fabric strip sealing the window edges. Cleaning removes dirt, prevents damage, and ensures smooth window operation.
How Do I Safely Clean Car Window Felt?
Use a soft brush or microfiber cloth with mild soapy water. Gently scrub to remove dirt and avoid harsh chemicals that damage the felt.
How Often Should Car Window Felt Be Cleaned?
Clean window felt every 3-6 months or when visibly dirty. Regular cleaning maintains its condition and prevents buildup that can cause wear.
Can I Use Household Cleaners On Car Window Felt?
Avoid harsh household cleaners as they can damage the felt. Stick to mild soap and water for safe, effective cleaning.
Conclusion
Cleaning car window felt keeps your windows working well. Dirt and dust can cause damage over time. Regular cleaning stops buildup and keeps the felt soft. Use gentle tools and cleaners to avoid harm. Small efforts save money on repairs later.
Clean felt also helps reduce noise while driving. Remember, a clean car feels better to drive. Try to clean the felt every few months. Simple care gives your car a fresh, neat look. Taking time for this task pays off in the long run.