Have you ever tried to remove glue from your car window and ended up with a sticky mess? Cleaning car window glue can be tricky, but it doesn’t have to be frustrating.
If you want your car to look spotless and avoid damaging the glass, you need the right approach. You’ll discover simple, effective steps to get rid of that stubborn glue quickly and safely. Keep reading, and you’ll learn how to restore your car windows to their clear, clean state in no time.

Credit: www.youtube.com
Tools Needed For Cleaning
Cleaning car window glue needs the right tools. Using proper supplies makes the task easier and safer. It helps remove glue without damaging the glass or surrounding areas. Prepare these tools before starting your cleaning job.
Essential Cleaning Supplies
Gather basic supplies to handle the glue removal. A plastic scraper works well to lift glue bits gently. Use a razor blade carefully for stubborn glue spots. Glass cleaner removes leftover residue and brightens the window.
Rubbing alcohol or adhesive remover helps dissolve sticky glue. Soft cloths or microfiber towels prevent scratches during cleaning. Warm soapy water cleans the surface before and after glue removal.
Protective Gear To Use
Wear gloves to protect your hands from chemicals and sharp tools. Safety glasses keep your eyes safe from splashes or debris. Use a mask if working with strong adhesive removers to avoid inhaling fumes.
Long sleeves protect your skin from irritants. Proper gear keeps you safe and comfortable throughout the cleaning process.
Preparing The Car Window
Preparing the car window is the first step in cleaning glue effectively. A clean, clear surface helps remove glue without scratching the glass. Taking time to prepare ensures better results and protects your car.
Removing Loose Debris
Start by wiping the window with a soft cloth. Remove dust, dirt, and loose particles gently. Use water or a mild cleaner to help lift grime. Avoid harsh scrubbing to prevent scratches. Clean windows help the glue come off easier.
Protecting Surrounding Areas
Cover areas around the window with painter’s tape or plastic film. Protect door frames, seals, and paint from glue remover chemicals. Use old newspapers or cloths to catch drips. This step keeps your car safe during cleaning.
Methods To Remove Glue
Removing car window glue can seem tough. The right method depends on the glue type and your tools. Some ways use chemicals, while others rely on natural or physical methods. Each method needs care to avoid damage to your car glass or paint.
Using Solvents Safely
Solvents dissolve glue quickly. Common solvents include rubbing alcohol, acetone, and commercial adhesive removers. Always test the solvent on a small, hidden area first. Use a soft cloth and apply gently. Avoid letting solvents touch painted areas. Work in a well-ventilated space to protect your lungs. Wear gloves to protect your skin. Wipe away glue slowly to avoid scratching the glass.
Natural Alternatives
Natural methods are gentle and eco-friendly. Warm soapy water softens glue over time. Vinegar breaks down adhesive bonds safely. Apply with a cloth and let it sit for a few minutes. Use a plastic scraper to lift the glue gently. Baking soda mixed with coconut oil forms a paste that helps remove sticky residue. These options take longer but reduce chemical exposure.
Mechanical Removal Techniques
Mechanical methods use tools to scrape or rub glue off. A plastic razor blade or scraper works well on glass. Use steady, light pressure to avoid scratches. Steel wool or abrasive pads can remove tough glue but risk damage. Always test on a small spot first. Heat guns or hair dryers soften glue for easier removal. Keep tools clean and change position often to prevent marks.
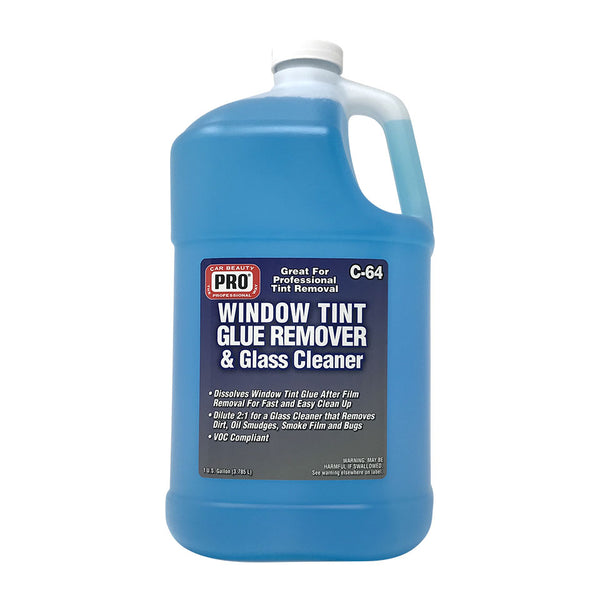
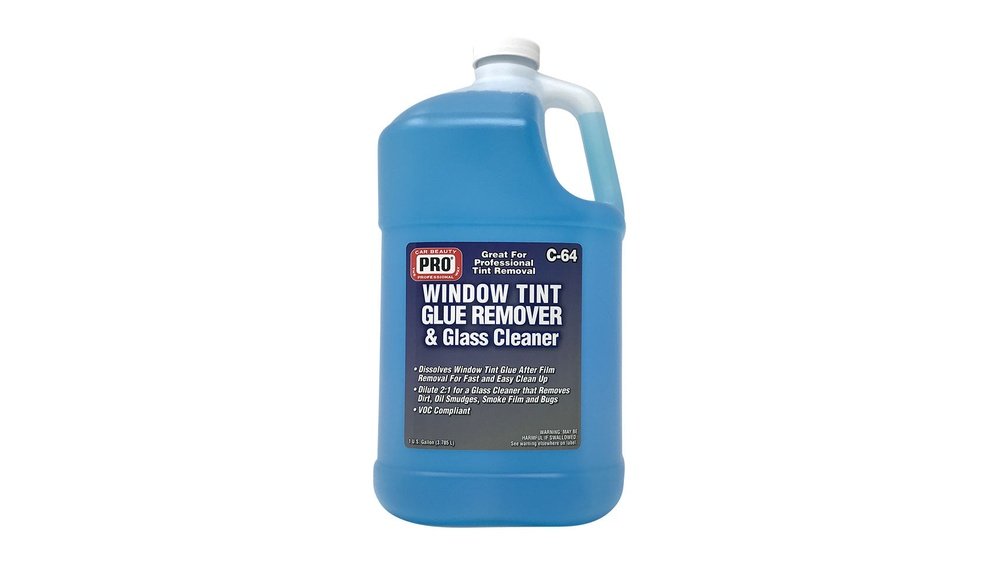
Credit: www.prowax.com
Step-by-step Cleaning Process
Cleaning car window glue needs care and patience. Follow these steps for a clean, clear window without damage. The process breaks down into three simple parts. Each part helps remove glue safely and completely.
Applying The Cleaner
Start by choosing a good glue remover or rubbing alcohol. Apply it to the glued area using a soft cloth or sponge. Let the cleaner sit for a few minutes. This softens the glue and makes it easier to remove.
Scraping Off Residue
Use a plastic scraper or a razor blade at a low angle. Gently scrape the glue off the glass surface. Work slowly to avoid scratching the window. Repeat applying cleaner and scraping if glue stays stubborn.
Wiping And Polishing
Take a clean microfiber cloth and wipe the area. Remove any leftover glue and cleaner residue. Finish by polishing the glass to restore shine. The window will look clear and smooth again.
Preventing Damage To The Window
Cleaning car window glue requires care to keep the glass safe. The wrong methods can leave marks or cause cracks. Protecting the window during cleaning keeps it clear and strong. Use gentle tools and safe products to avoid damage. This section explains how to clean glue without hurting the glass.
Avoiding Scratches
Always use a soft cloth or plastic scraper. Metal tools can scratch the glass surface. Scrape gently to lift glue off without pressure. Test the scraper on a small spot first. Do not rub hard or use abrasive pads. Rinse the area often to remove loose particles. This prevents rubbing dirt into the glass.
Safe Chemical Use
Choose mild solvents like rubbing alcohol or vinegar. Avoid harsh chemicals like acetone or paint thinner. Harsh chemicals can weaken the glass or leave stains. Apply chemicals on a cloth, not directly on glass. Let the solvent sit a few minutes to soften glue. Wipe away glue with soft motions. Always wear gloves to protect your skin.

Credit: www.youtube.com
Post-cleaning Care
Cleaning car window glue is only part of the job. Proper care after cleaning keeps your windows clear and neat. Post-cleaning care helps avoid damage and marks on the glass. Follow simple steps to ensure a clean, smooth finish that lasts.
Inspecting For Remaining Glue
After removing the glue, check the window closely. Use good light to spot any small glue bits left behind. Even tiny glue pieces can cause problems later. Use a plastic scraper or cloth to gently remove leftover glue. Avoid harsh tools that can scratch the glass. Repeat the check until the window looks clean.
Maintaining A Spotless Finish
Use a glass cleaner to wipe the window after glue removal. This removes any sticky residue and dirt. Dry the glass with a soft, clean cloth to avoid streaks. Keep your windows dry and clean for the next few days. Avoid touching the cleaned area with dirty hands. This care keeps the window shiny and smooth for a long time.
Frequently Asked Questions
How Do I Safely Remove Car Window Glue?
Use a plastic scraper and adhesive remover designed for auto glass. Avoid metal tools to prevent damage. Apply remover, wait a few minutes, then gently scrape off the glue.
What Household Items Can Clean Car Window Glue?
Rubbing alcohol or acetone-based nail polish remover works well. Apply with a cloth and rub gently to dissolve the glue without harming the glass.
How Long Does It Take To Clean Window Glue?
Typically, it takes 10 to 20 minutes depending on glue thickness. Allow adhesive remover to sit for a few minutes before scraping for best results.
Can I Use Heat To Remove Car Window Glue?
Yes, applying moderate heat softens the glue, making it easier to remove. Use a heat gun or hairdryer on low setting and avoid overheating the glass.
Conclusion
Cleaning car window glue takes patience and the right tools. Use gentle scrapers and safe cleaners to protect your glass. Work slowly to avoid scratches and damage. Small spots need careful attention for a clean finish. Regular cleaning keeps your windows clear and smooth.
Keep these tips in mind for easy glue removal. Your car looks better with clean windows. Simple steps make the job easier and safer. Try these methods next time you remove glue.
Leave a Reply